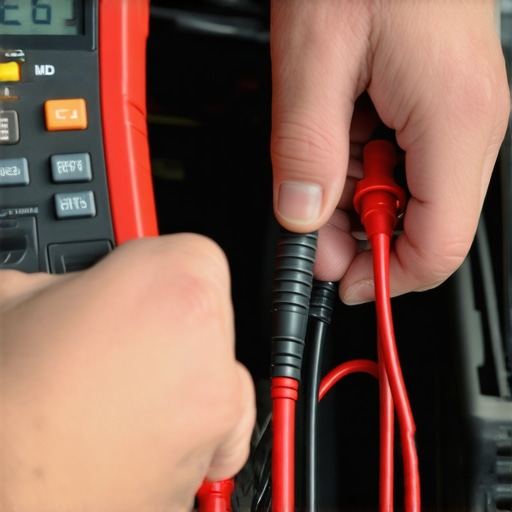
I was staring at my truck, sweat dripping into my eyes, feeling like a total amateur. I’d just dropped $150 on a new battery, but when I turned the key? Nothing. Just a pathetic click and a dashboard that flickered like a haunted house. I felt defeated. I was convinced my starter had finally died, or worse, my engine was seized. It turns out, I was looking at the wrong end of the circuit. A tiny, crusty wire connecting the engine block to the frame was the culprit. It’s a classic mistake, and honestly, even pros miss it when they’re in a rush. I remember how frustrated I felt, but that moment taught me more about car electronics than any manual ever could.
Stop Throwing Parts at Your Electrical Gremlins
We’ve all been there. Your car starts acting possessed. Maybe you’ve noticed dash lights flickering when you use the turn signal or perhaps your dashboard lights dim when you idle at a red light. Your first instinct is usually to blame the alternator or the battery. But here’s a secret I learned the hard way: your car’s electrical system is a loop. If the exit (the ground) is blocked by rust, paint, or grease, it doesn’t matter how much power the entrance provides. Today, I’m going to show you how to find that blockage without spending a dime on parts you don’t need. It’s about working smarter, not harder, and keeping your hard-earned cash where it belongs. If you aren’t sure where to start, looking at the top signs your car needs expert auto repair can help, but checking your grounds is the ultimate DIY move before heading to a shop.
Is a Simple Wire Really Worth All This Trouble?
It sounds too easy, right? You want to believe it’s a complex sensor or that you need a major tune-up. But a bad ground can mimic almost any expensive failure. It can make a simple fuse act like a dead alternator or even cause your transmission to grind when shifting into reverse because the electronic solenoids aren’t getting steady voltage. According to the Electrical Rebuilders Association, a staggering number of defective alternators returned for warranty are actually perfectly fine; the real issue was a high-resistance ground path. I once spent an entire Saturday morning pulling a starter motor from a cramped engine bay, only to find out the mounting surface was just too corroded to complete the circuit. I wasted four hours and a lot of skin on my knuckles because I didn’t take two minutes to perform a simple test. Have you ever spent a fortune on a part only to realize the fix was basically free? Let me know your biggest repair frustrations. Next, we are going to dive into the literal nuts and bolts of how to spot these failures before you open your wallet.Think of your car’s electrical system like a plumbing loop. The battery is the water tower, the wires are the pipes, and the ground is the drain. If the drain is clogged with hair and soap scum, the water backs up and nothing works right. In a car, that ‘clog’ is usually rust, road salt, or loose bolts. I remember working on an old 4×4 where I’d just finished the best way to clean your engine bay without shorting wires, and I was so proud of how shiny everything looked. I even painted the mounting brackets. Big mistake. The paint acted as an insulator, blocking the ground path. The truck wouldn’t even click when I turned the key. I spent three hours checking fuses before realizing my ‘improvement’ was the problem. Now, I always check the basics first.
Look for the Obvious Green Fuzz First
Before you break out any tools, you need to use your eyes. Look at where your negative battery cable attaches to the frame. Is it covered in a white or green powdery crust? That’s corrosion eating away at your connection. You should also check the engine-to-chassis ground strap, which is often a braided wire that looks like a flat metal ribbon. If that strap is frayed or missing, your engine is essentially trying to ground itself through your transmission cables or throttle linkage, which can lead to expensive failures. This is why why your car battery dies every time it rains; moisture turns that crusty corrosion into a conductive mess that drains your power overnight. Take a moment to learn how to clean battery terminals so they never corrode again to prevent this from the start.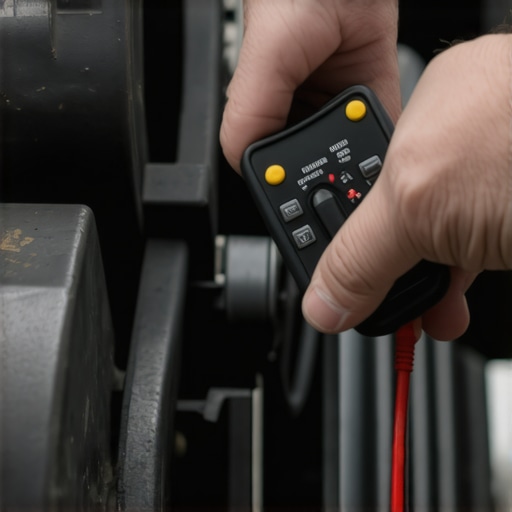
The Simple Test That Saves Hours of Frustration
If everything looks clean but your car still acts up, it’s time to move beyond a visual check. You need a digital multimeter. You can find a decent 15 dollar tool to find a short circuit in your dash that will work perfectly for this. Set it to DC volts. Put one probe on the negative battery post and the other on a clean spot on the engine block while someone tries to start the car. Ideally, you should see zero volts. If you see anything over 0.2 volts, you’ve found a ‘voltage drop.’ This means electricity is struggling to get back to the battery and is ‘piling up’ at the bottleneck. This hidden resistance is a major reason why people think they need a tune-up when they really just need a wire brush.
Scrape It Down to the Shiny Stuff
When you find a bad ground, don’t just tighten the bolt. You have to take it apart. Take a wire brush or some 80-grit sandpaper and scrub the terminal, the bolt, and the spot on the frame until you see shiny, bare metal. Electricity hates paint and loves steel. Once you have a metal-to-metal connection, put it back together and coat it with a little bit of dielectric grease to keep the oxygen out. This prevents the corrosion from coming back. This is the same logic used when you how to read live data to find a misfire; you’re looking for the source of the interruption. If your ground is solid, your sensors will report accurate data, and your car will stop acting like it’s possessed by an expensive ghost.Most backyard mechanics think a Check Engine light is a direct order to buy a specific sensor, but that is the fastest way to empty your wallet for nothing. I call it the ‘Parts Cannon’ approach, and it is the most common mistake I see. A code for a lean condition doesn’t mean your O2 sensor is bad; it often means your engine is sucking in unmetered air through a cracked vacuum line. Even when you try to maximize your car’s lifespan with regular tune-ups, you might be ignoring the deeper logic of the ECU. According to a report by the Automotive Service Association (ASA), nearly a third of all vehicle components replaced by consumers are actually functional at the time of disposal. People are fixing symptoms, not causes. 
The Dangerous Myth of the Magic Additive
One of the biggest nuances pros understand is that you cannot fix mechanical wear with a liquid. Everyone says to use high-mileage additives, but you need to know the truth about engine flushes for high-mileage cars before you dump a can of solvent into your crankcase. In an old engine, that ‘sludge’ might actually be the only thing keeping your seals from leaking. When you strip that away with a harsh flush, you often end up with a driveway full of oil and a ruined motor. It is a classic trap where the ‘fix’ creates three new problems. I’ve even seen people over-tighten their drain plugs in an attempt to stop a leak, only to then search frantically for how to fix a stripped oil pan drain plug. In auto repair, more force is almost never the answer.
Why does my car feel like it is dragging an anchor even after a service?
This is a sophisticated question that often stumps people who just replaced their spark plugs and filters. If your engine is healthy but the car feels heavy, you aren’t looking at the powertrain; you’re looking at rolling resistance. You might be wondering why your car feels like it’s dragging an anchor when the real culprit is a seized brake caliper or a failing wheel bearing. Another hidden nuance is the timing system; if your car is sluggish, you should learn how to tell if your timing belt is about to snap or has jumped a tooth, which ruins your valve timing without necessarily throwing a code immediately. Advanced diagnostics require looking past the obvious. It is also why why most Libertyville shops misdiagnose a simple oil pan leak as a major repair; they look at the puddle, not the source. Have you ever fallen into this trap and replaced a perfectly good part? Let me know in the comments.If you really want to graduate from ‘parts changer’ to a true mechanic, you need to stop relying on luck. I spent years trying to diagnose problems by ear until I realized that modern cars are essentially rolling computers with combustion engines attached. To keep your vehicle from becoming a lawn ornament, you need the right diagnostic gear. My go-to is a high-impedance digital multimeter. I personally use a Fluke because cheaper models often have a slow refresh rate, meaning they might miss a momentary voltage spike that tells you exactly why your fuel pump is failing. This isn’t just about fancy gadgets; it’s about accuracy. When you follow essential car service tips for safe summer drives, you learn that heat is the enemy of electronics. A solid multimeter helps you track down resistance before the heat fries your ECU.
Stop Guessing with a Ten Dollar Multimeter
I’ve seen guys spend hundreds on a scan tool but skip the basics. For me, the most important tool in my box is a simple infrared thermometer. It sounds like overkill, but it is the 10 dollar tool that saves your engine from overheating by spotting a clogged radiator or a stuck thermostat in seconds. It’s also how I find a dragging brake or a failing wheel bearing before they start smoking. If you want to dive deeper into the data, you need to look at ‘Freeze Frame’ data on an OBD2 scanner. As noted in the Robert Bosch GmbH Automotive Handbook, terminal designations like ‘Terminal 31’ (the return line to the battery) are critical; if you don’t understand the path the electricity takes, you’ll never fix the phantom codes.
How do I maintain these invisible connections over time?
The secret to long-term reliability is prevention, not just reaction. Every time I’m under the hood for a regular tune-up, I apply a tiny dab of dielectric grease to every connector I touch. This seals out the moisture that causes that green fuzz we talked about earlier. It’s also worth checking your heat shields. If they are loose, they vibrate and can actually chafe through nearby wiring harnesses. You can usually fix a rattling heat shield for free using a large stainless steel hose clamp, which prevents a much more expensive electrical short down the road. I predict that within the next decade, we won’t even need handheld scanners; AI-driven onboard diagnostics will tell us exactly which ground wire is corroded before the car even hesitates. For now, we still have to do the legwork. 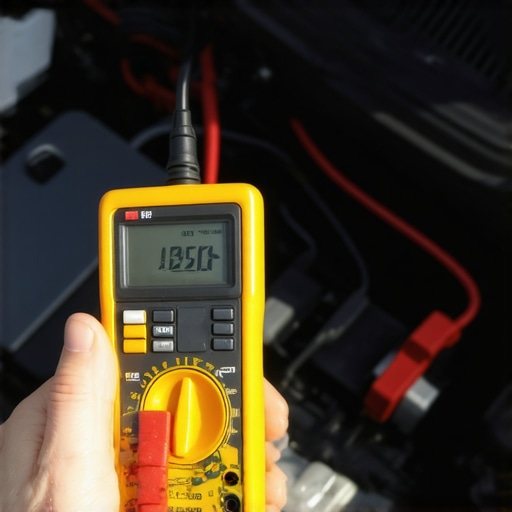 I highly recommend that this weekend, you perform a ‘voltage drop’ test on your main battery ground. It takes five minutes and might just save you from a three-hundred-dollar alternator you don’t actually need. If the numbers look weird and you’re feeling overwhelmed, checking the top signs your car needs expert auto repair now can help you decide if it’s time to call in the pros, especially if you’re worried about major components like the gearbox, where transmission overhauls save you money in the long run if caught early enough.
The Hardest Lesson I Learned About Chasing Electrical Gremlins
Reflecting on my years under the hood, the biggest lightbulb moment wasn’t about a specific tool, but about a shift in mindset. I realized that clean terminals don’t always mean good connections; internal corrosion can hide inside the insulation where you can’t see it. I also learned that if your car key gets stuck in the ignition lock, it’s often an electrical interlock issue rather than a mechanical failure. Most importantly, I stopped assuming the loudest part was the broken one. A screeching belt is often just a symptom of a seized alternator bearing or a misaligned pulley. These nuances are what separate a parts-changer from a true mechanic.
The Diagnostic Gear I Actually Keep in My Glovebox
You don’t need a professional shop to get professional results. I swear by my digital multimeter because it removes the guesswork from every circuit. I also keep a set of small brass wire brushes for scrubbing grounds—steel brushes can be too aggressive and remove protective coatings. For mechanical checks, I always listen for the weird noise your gearbox makes when its low on fluid to catch transmission problems before they become catastrophic. Finally, I never perform any electrical work without a small tube of dielectric grease to seal out the moisture that leads to those phantom stalls when you find why your car loses power on hills but idles fine.
Take Control of Your Own Car Maintenance
Working on your own vehicle can feel intimidating, but remember that every expert started with a single wrench and a lot of questions. By mastering the basics of ground circuits and simple testing, you are already ahead of most people who just blindly fire the parts cannon. You have the power to save thousands on auto repair just by slowing down and testing before you buy. If you ever hit a wall or need a second opinion on a complex diagnostic, don’t hesitate to contact us for guidance. Have you ever found a fix that cost zero dollars after being quoted hundreds? Let me know below.