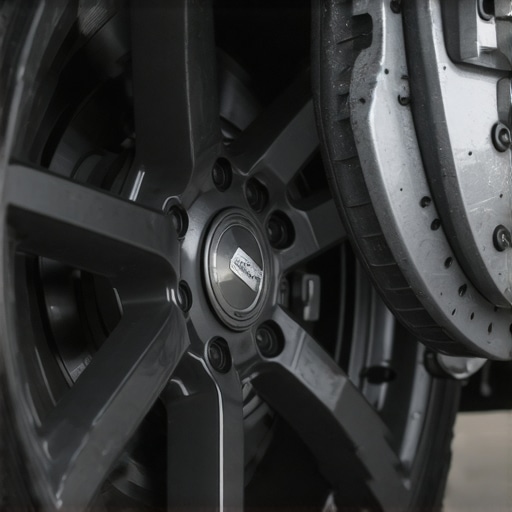
There I was, convinced I had just fixed the annoying squeal that had been lingering every time I pressed my brakes. I replaced the pads myself, saved a few bucks, and felt pretty proud of my DIY skills. But as soon as I hit the road, the shrill squealing returned—louder and more persistent than before. Frustration crept in. Ever experienced that knot-tightening feeling when your brand-new brake pads still squeal?
Unraveling the Mystery of Persistent Brake Noise
Let me tell you, I learned the hard way that a brake pad swap is only part of the story. Sometimes, that squeak is an indication of underlying issues that a simple replacement doesn’t address. Today, we’re diving deep to uncover why your brakes can still squeal after a pad change and what you can do about it.
Is It Really Worth the Fuss? My Early Mistake
Early on, I thought applying a bit of brake lubricant and squeezing in new pads would quiet everything down. Turns out, I overlooked a crucial step—cleaning the calipers thoroughly. Neglecting this led to uneven wear and that dreaded squeal. It’s a common mistake among DIYers. Expert auto repair shops emphasize that proper cleaning and inspection are essential to prevent future noise and ensure safety. Want to learn how to avoid these pitfalls? Check out these essential car service tips.
What’s Next? Solving the Squeal Once and For All
In the upcoming sections, I’ll guide you through effective steps to diagnose and fix squeaking brakes, backed by personal experience and trusted advice. Whether your noise is caused by glazing, dust, or worn components, I’ll help you understand the root cause and how to tame it. Ready to stop that annoying squeal and restore peace to your drive?
}#}#}#}#}#}#}#}#}#}#}#}#}#}#}#}#}#}#}#}#}#}#}#}#}#}#}#}#}#}#}#}#}#}#}#}#}#}#}#}#}#}#}#}#}#}#}#}#}#}#}#}#}#}#}#}#}#}#}#}#}#}#}#}#}#}#}#}#}#}#}#}#}#}#}#}#}#}#}#}#}#}#}#}#}#}#}#}#}#}#}#}#}#}#}#}#}#}#}#}#}#}#}#}#}#}#}#}#}#}#}#}#}#}#}#}#}#}#}#}#}#}#}#}#}#}#}#}#}#}#}#}#}#}#}#}#}#}#}#}#}#}#}#}#}#}#}#}#}#}#}#}#}#}#}#}#}#}#}#}#}#}#}#}#}#}#}#}#}#}#}#}#}#}#}#}#}#}#}#}#}#}#}#}#}#}#}#}#}#}#}#}#}#}#}#}#}#}#}#}#}#}#}#}#}#}#}#}#}#}#}#}#}#}#}#}#}#}#}#}#}#}#}#}#}#}#}#}#}#}#}#}#}#}#}#}#}#}#}#}#}#}#}#}#}#}#}#}#}#}#}#}#}#}#}#}#}#}#}#}#}#}#}#}#}#}#}#}#}#}#}#}#}#}#}#}#}#}#}#}#}#}#}#}#}#}#}#}#}#}#}#}#}#}#}#}#}#}#}#}#}#}#}#}#}#}#}#}#}#}#}#}#}#}#}#}#}#}#}#}#}#}#}#}#}#}#}#}#}#}#}#}#}#}#}#}#}#}#}#}#}#}#}
Inspect the Brake Components Thoroughly
Start by safely lifting your vehicle on jack stands, ensuring it’s stable. Remove the wheel to access the brake assembly. Visually examine the brake pads for uneven wear or glazing—shiny, hard surfaces that can cause squeal. Check the rotor surface for deep grooves or rust buildup. During my own repair last summer, I discovered that glazing was the culprit after noticing a bluish tint on the pads—replacing glazed pads without cleaning the rotors led to immediate squeal.
Clean and Sand the Brake Parts
Use a brake cleaner spray to remove dust, grease, and brake pad residue from the pads, caliper, and rotor surface. Forcing a smooth finish, gently sand the brake pads using fine-grit sandpaper—this helps remove glazing and rough spots. I once took an old set of pads and sanded them to restore their friction, which temporarily quieted squeals; however, glazing often returns if underlying issues aren’t addressed.
Address Dust and Debris
Dust accumulation between the pad and rotor can act like sandpaper, causing squeals. Use compressed air to blow out the caliper and pad area, removing stubborn dust. Wear protective goggles and a mask. Doing this before reassembling prevented a squeal from dust trapped during my last brake service, restoring smooth operation.
Apply the Correct Lubricant
Use high-temperature brake lubricant on the caliper pins and backing plates of the brake pads—never on the pad surface itself. This ensures smooth movement of components, preventing vibrations. When I applied brake grease after cleaning, the squeak subsided because the pads moved freely without rattling against other parts.
Replace or Resurface Rotors
If the rotor surface is deeply scored or rusted, consider resurfacing or replacing them. Resurfacing removes unevenness, creating a flat contact surface that minimizes noise. During my experience, I replaced warped rotors with new ones, which eliminated the persistent squeal. Remember, if rotors are below the minimum thickness, replacing is the safer choice.
Test and Fine-Tune
After reassembling, pump the brake pedal a few times to seat the pads firmly against the rotor. Test drive slowly, listening for any squealing or vibrations. If noise persists, double-check that all components are correctly seated and that no debris or excess lubricant is causing slip. Adjust pad positioning if needed. Fine-tuning these steps often takes patience but yields the best results.
Monitor and Maintain
Regular inspections help prevent squealing from returning. Keep dust off the brake assembly and replace pads when they reach recommended thickness. For sustained peace of mind, consider periodic professional brake assessments. Proper maintenance not only quiets your brakes but extends their lifespan, contributing to overall vehicle safety.
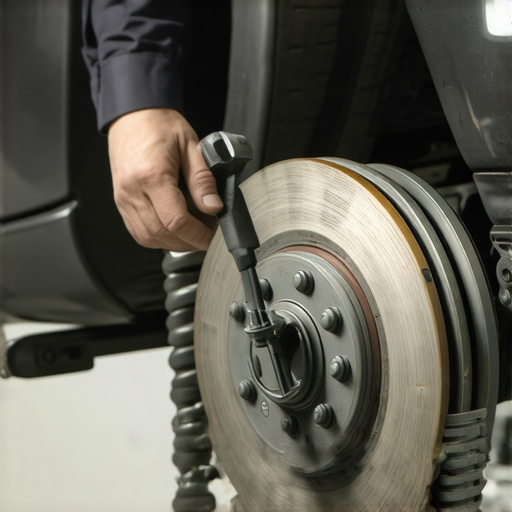
While many believe that routine car service is straightforward—just change the oil, replace filters, and you’re good to go—this oversimplification leads to common pitfalls that can cost you dearly. One major misconception is that following basic checklists guarantees a long-lasting vehicle health. But in reality, overlooking nuanced details, like the subtle signs of transmission wear or the importance of precise tune-up procedures, can accelerate deterioration and cause expensive damage. Let’s dig deeper into these overlooked nuances to empower you with insights that top-tier auto repair experts leverage every day.
Why Do Most People Think Regular Oil Changes Are Enough?
Many assume that sticking to the oil change schedule alone preserves engine health. However, studies show that neglecting comprehensive inspection—such as checking your transmission fluid levels, inspecting belts, and detecting early signs of corrosion—creates vulnerabilities. Regular tune-ups go beyond just keeping the engine clean; they involve a holistic assessment of critical components, which prevents minor issues from snowballing into major repairs.
Underrated Mistake: Ignoring Transmission Symptoms Until It’s Too Late
Transmission problems often hide beneath the surface until they manifest as sudden jerks or slips. The misconception that transmission overhauls are only necessary after catastrophic failure delays repairs and increases costs. In fact, proactive diagnostics—like inspecting transmission fluid for contamination or measuring internal pressures—are essential for longevity. Professional shops emphasize that early intervention based on nuanced signs can save hundreds, as detailed in this guide on transmission overhauls.
Advanced Drivers Ask: How Do I Detect Subtle Signs of Wear Before Breakdown?
This question underscores a crucial technical gap many owners have. Experts recommend paying attention to unusual dashboard alerts, subtle changes in vehicle responsiveness, or strange noises during acceleration. For instance, a slight delay in shifting gears could indicate developing issues that require detailed diagnosis—something often missed without the right tools or experience. Regular inspections, combined with understanding the intricacies of your vehicle’s behavior, make a difference. For in-depth tips, see these advanced warning signs.
Have you ever fallen into this trap? Let me know in the comments. Recognizing and respecting the complexity behind car maintenance ensures your vehicle remains reliable and safe for years to come. Don’t just follow basic routines—invest in understanding your car’s deeper needs. For comprehensive insights, visit our essential car service tips.
Keeping It Working: Essential Tools for Auto Care
Maintaining your vehicle over time requires more than just basic knowledge; it demands the right equipment to do the job efficiently and safely. Personally, I prioritize using a quality digital multimeter because it allows me to diagnose electrical issues accurately, from dead batteries to faulty sensors. A garage jack with a sturdy stand is indispensable for safely lifting your car for tire or brake work, reducing the risk of accidents and enabling complete inspections. Additionally, a torque wrench ensures that bolts—especially on critical components like suspension or wheel nuts—are tightened to manufacturers’ specifications, preventing premature wear or failure.
For brake maintenance, I rely on a brake caliper piston compressing tool. This specialized tool makes reassembling brake components much easier, avoiding uneven pad wear and squealing. When inspecting transmission components, a diagnostic scanner with OBD-II capabilities enables me to read error codes and monitor live data, making troubleshooting faster and more precise. Trusted brands like Autel or BlueDriver provide reliable options that cater to DIY enthusiasts and professionals alike.
Leveraging Software and Diagnostics
Modern auto repair increasingly depends on advanced diagnostic software. I use tools like OBDeleven or Snap-On scanners to access detailed vehicle data and perform resets after repairs. Keeping the software updated ensures compatibility with the latest vehicle models and electronic systems, which is crucial as more cars incorporate complex electronics. These tools not only diagnose issues but also facilitate reprogramming or calibration tasks, saving time and preventing misdiagnoses.
Predicting where this trend is headed, vehicle diagnostics will become more integrated, with cloud-connected devices offering real-time analytics and predictive maintenance alerts. This evolution aims to reduce breakdowns by catching issues early, which aligns perfectly with my goal of sustainable, long-term vehicle care.
How do I Maintain Equipment and Techniques for Longevity?
Regularly calibrate and clean your diagnostic tools and gauges, just as you would perform routine oil changes. Protect your precision tools from moisture and dirt, storing them in dedicated cases. For software, ensure your device firmware and app subscriptions are current. I also recommend documenting repair procedures and tool settings—this keeps you consistent and helps troubleshoot future issues more efficiently. Incorporate these practices into your routine, and you’ll extend the lifespan of your tools and maintain high repair quality over the years.
If you’re serious about auto repair, investing in quality equipment makes all the difference. For example, a comprehensive car service guide underscores that proper tools reduce errors and improve the safety of repairs. Start with the basics and gradually build your toolkit—this will pay off in reliability and safety in the long run.
Try calibrating your diagnostic scanner this month and see how much clearer your vehicle’s health becomes. Consistent maintenance of your tools ensures accurate diagnostics and effective repairs, making your auto care more predictable and cost-effective over time.
Future of Vehicle Maintenance
Looking ahead, we can expect smart tools equipped with AI to analyze data and suggest preventive measures automatically. This will revolutionize how we approach auto care, making it more proactive than ever before. Staying ahead means embracing these innovations now, ensuring your vehicle remains in top shape for the long haul.
How I Learned the Hard Way to Master Brake Noise Fixes
One of the most valuable lessons I’ve discovered is that replacing brake pads isn’t a cure-all. Deep inside, I realized that proper cleaning, inspection, and understanding the root cause are essential to truly silence squealing brakes. This knowledge saved me from endless trial and error, and I want to share these insider tips with you.
Tools and Resources That Changed My Approach
Having the right equipment makes all the difference. A quality garage jack, a reliable diagnostic scanner, and fine-grit sandpaper transformed how I diagnosed and fixed brake squeals. Trustworthy brands like Autel and BlueDriver give me confidence that I’m working with tools that are precise and durable.
Real Talk: Why Addressing Subtle Signs Matters
Early detection of brake issues can prevent costly repairs down the line. For example, noticing a slight vibration or noise during slow stops can be your first warning that something isn’t quite right. Regular check-ups and understanding the nuances of your vehicle help you catch problems before they escalate. Want to dive deeper? Check these signs your vehicle needs expert attention.
Step Forward and Keep Your Brakes Quiet
Armed with knowledge, the right tools, and a proactive mindset, you can maintain quieter, safer brakes. Remember, auto care is about understanding your vehicle’s unique needs and acting early. Keep learning, stay curious, and your car will thank you for the effort.
What’s been your biggest challenge with brake squeal? Share your experience below—I’d love to hear your story!