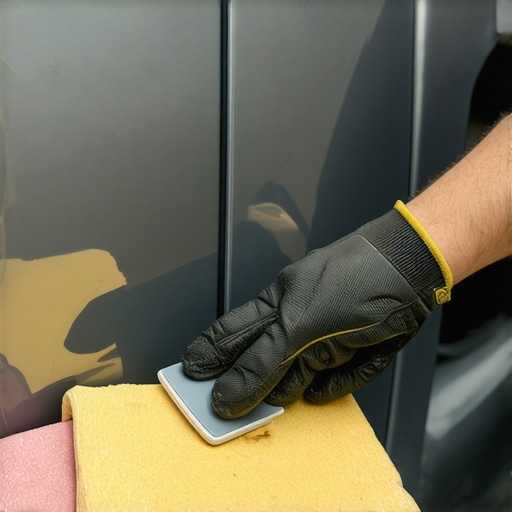
I remember the first time I found a deep, metal-exposing scratch on my driver-side door. It felt like a punch to the gut. It wasn’t just a surface scuff; it was a jagged canyon in the clear coat. My first instinct? Run to the local parts store, grab a fifteen-dollar pen, and just color it in. Huge mistake. Within two car washes, that paint flaked right off, leaving the metal vulnerable to rust. I learned the hard way that the secret isn’t in the paint itself—it’s all in the prep work. If you’ve been putting off a repair because you’re scared of making it look worse, I’ve got your back. Today, we are going to walk through the exact steps to ensure your repair is permanent and nearly invisible.
Stop Coloring and Start Prepping
Most people treat a scratch like a drawing project. But in reality, it is more like surgery. You need a clean environment and a perfectly etched surface. If you do not prep, you are just wasting time. This is just as critical for your car’s value as knowing the top signs your car needs expert auto repair now. I once tried to fix a scratch without degreasing the area first. The wax on my car acted like a shield, preventing the touch-up paint from ever bonding. It looked like a blob of dried gum. We are going to make sure that doesn’t happen to you by focusing on chemical and mechanical adhesion before the first drop of paint hits the panel. Even if you have checked to see if your frame is straight after a fender bender, a poorly repaired scratch will be the first thing people notice.
Does a Home Repair Actually Last?
I know what you are thinking: I am going to mess this up and end up needing a full respray. It is a valid fear. But for small, deep scratches, a patient DIYer can often achieve ninety percent of the results of a professional shop for five percent of the cost. According to research by ASTM International, surface preparation accounts for nearly seventy percent of a coating’s long-term durability. That’s why we focus on the grit and the grease before the glamour. Whether you are keeping up with a regular tune-up or fixing cosmetic damage, doing it right the first time saves your wallet and your sanity. Have you ever tried to quick-fix a scratch only to have it look like a messy scab a month later? Let me know, because I have definitely been there. Let’s get into the tools you actually need to do this right.
Scrub Away the Invisible Barriers
You cannot trust a surface just because it looks clean. Your car is a magnet for road film, silicone from car washes, and microscopic wax particles. If you paint over these, the new layer will simply sit on top like oil on water. I once spent three hours meticulously layering paint on a hood chip, only to watch it peel off in one piece like a sticker because I skipped the grease remover. To do this right, use a dedicated wax and grease remover or high-percentage isopropyl alcohol. Saturate a lint-free microfiber and wipe the scratch in one direction. Do not scrub back and forth; you are trying to lift the contaminants off, not grind them deeper into the clear coat. This level of precision is exactly what separates a hack job from a professional repair, much like how you would approach the technicality of needing to diagnose a bad ground wire in minutes. Cleanliness is your mechanical foundation.
Give the Paint a Surface to Grip
Once the surface is chemically clean, you need to create a physical profile for the paint to bite into. Paint needs ‘tooth.’ For deep scratches that reach the primer or metal, you should use 2000-grit wet sandpaper. Soak the paper for ten minutes first so it becomes pliable. The goal here is not to remove the scratch entirely with the sandpaper—that is what the paint is for—but to smooth the jagged edges of the surrounding clear coat. Light, circular motions with plenty of soapy water as lubricant will prevent you from burning through the surrounding paint. If you have ever used the trick to removing heavy oxidation from plastic headlights, the concept is identical: you are refining the texture. 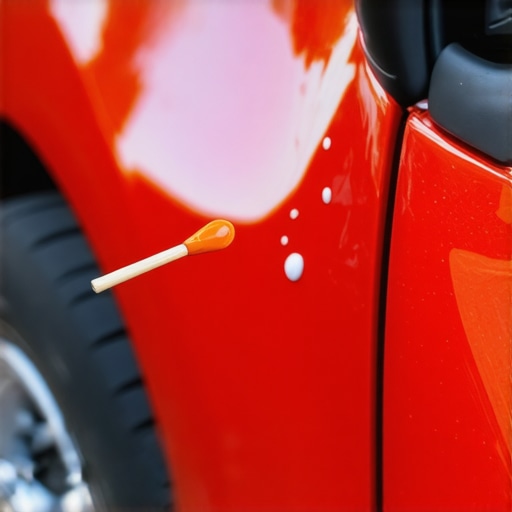
Don’t Use the Brush That Comes in the Bottle
The biggest mistake people make is using that thick, nail-polish-style brush attached to the touch-up bottle cap. It holds way too much paint and creates a massive blob. Instead, buy a pack of micro-applicators or use a sharpened toothpick. You want to ‘flow’ the paint into the scratch, not brush it on. On my old truck, I tried to rush a door ding repair with the factory brush, and I ended up with a raised welt that looked worse than the scratch. Now, I use the toothpick method to build the paint up in thin, translucent layers. Wait twenty minutes between each ‘drop’ of paint. This patience ensures the solvents evaporate properly, preventing the paint from shrinking later. It is a slow process, but it is far cheaper than how transmission overhauls save you money in the long run by avoiding total replacement.
Navigate Modern Sensors and Clear Coats
Before you start globbing paint near your bumpers, remember that modern cars are packed with tech. I once helped a friend fix a scuff near his rear bumper and we accidentally covered a blind-spot sensor with too much metallic flake paint. He ended up wondering why your sensors aren’t working after a bumper repair for a week. Keep your repairs localized and avoid over-masking. Use a hole-punch in a piece of masking tape to isolate just the scratch. This prevents you from getting excess paint on the healthy clear coat. Treat this with the same mechanical respect you would use when trying to fix a stripped oil pan drain plug; one wrong move with too much force or volume makes the job ten times harder.
Stop Trusting the Paint Code Alone
Most DIYers believe that if they match the VIN-specific paint code on their door jamb, the repair will be invisible. This is a common misconception that often leads to frustration. In my experience, a factory paint pen is rarely a perfect match for a car that has seen more than six months of sunlight. According to a study by the Society of Automotive Engineers (SAE), UV radiation and environmental pollutants can cause significant color shift in automotive topcoats within just two years. If you apply ‘fresh’ paint to an ‘aged’ panel, you will see a dark or overly saturated spot. To combat this, I recommend thinning your touch-up paint slightly and applying it in translucent layers, allowing the base color to ‘peek’ through. This nuance is as vital as knowing to maximize your car’s lifespan with regular tune-ups.
Can You Honestly Match Metallic Flake at Home?
Metallic and pearl finishes are the ultimate test of a DIY repair. The problem isn’t just the color; it’s the orientation of the microscopic flakes. When you use a brush, the flakes lay flat or clump together, making the spot look darker from some angles and lighter from others. This is the ‘flop’ effect. To minimize this, use a dabbing motion with a fine-tipped applicator rather than a stroke. Just as you might notice why your transmission shifts better when its hot due to fluid viscosity, the temperature of your car’s metal affects how the paint flows and how those flakes settle. Always work in a shaded, temperature-controlled environment if possible. 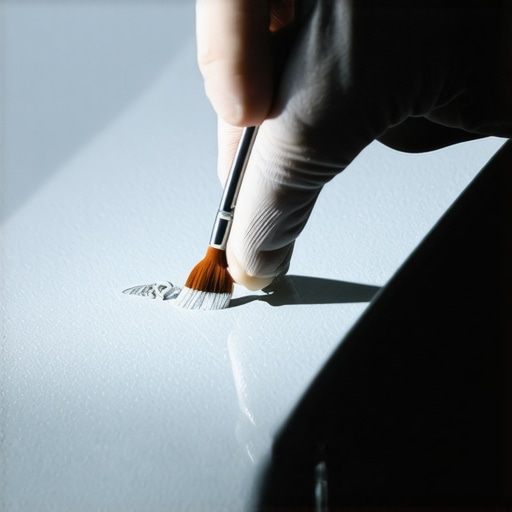
The Strike-Through Trap That Ruins Hoods
The most dangerous part of this process isn’t the painting—it is the final leveling. Most people get impatient and use a heavy-duty polishing compound too early. This leads to ‘strike-through,’ where you burn right through the thin layer of clear coat around your repair. Once you hit the base coat, the panel is ruined and requires a professional respray. Treat your clear coat with the same caution you would use when trying to how to fix a stripped oil pan drain plug; one ounce of excess force can turn a minor fix into a major headache.
Don’t Fall for the Magic Eraser Myth
I have seen countless ‘hacks’ suggesting you use abrasive melamine sponges to level paint. Please, stay away from those. They are essentially high-grit sandpaper that creates a dull haze over a wide area, which is incredibly difficult to buff out. It is a marketing gimmick, much like some claims surrounding the truth about engine flushes for high mileage cars. Stick to 3000-grit wet sanding blocks and take your time. Have you ever fallen into this trap or accidentally sanded through your clear coat? Let me know in the comments, because even the pros have a horror story from their early days.Once you have successfully filled that scratch, the real work begins: making sure it stays there. I have seen guys spend an entire weekend painting only to have the repair vanish in six months because they used a cheap 1K clear coat from a generic spray can. If you want a result that survives the brutal sun and high-pressure car washes, you need a 2K clear coat that utilizes a separate hardener. I personally swear by the SprayMax 2K line because the chemical cross-linking—as detailed in 3M’s Automotive Refinishing Technical Guides—is the only thing that provides genuine UV and fuel resistance. Without this chemical bond, your hard work will yellow and flake off. This level of attention to detail is exactly what you should expect when you maximize your car’s lifespan with regular tune-ups; it is about the quality of the materials, not just the physical effort you put in.
Invest in the Right Leveling Gear
Keeping the rest of the vehicle in shape is just as vital as the paint itself. If you are ignoring the mechanical side, a shiny hood won’t help you much when the car stalls on the highway. For example, if you are heading into a heatwave, you should follow essential car service tips for safe summer drives to ensure your engine and cooling system don’t fail. Much like how how transmission overhauls save you money in the long run by preventing total failure, investing in a high-quality dual-action (DA) polisher is a one-time cost that pays for itself over a decade of ownership. I use a Porter-Cable 7424XP because it is nearly impossible for a beginner to burn through their paint with its random orbital motion, unlike a high-speed rotary buffer. 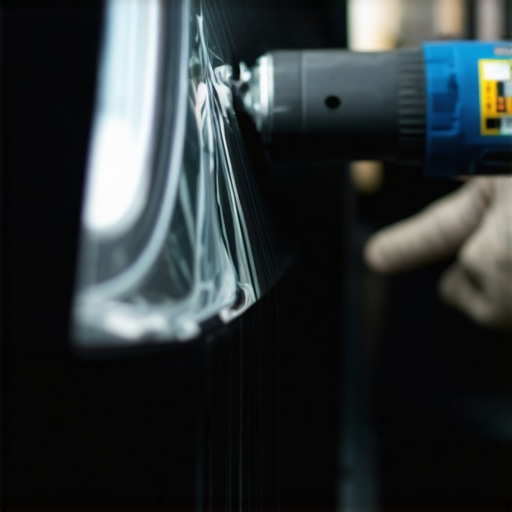
How do I maintain my car’s finish over the long haul?
The secret to a permanent repair is ‘contactless’ maintenance. You must stop using the scrub brushes at the local self-serve car wash; they are essentially sandpaper on a stick and will mar your new repair instantly. Instead, use a high-quality ceramic spray sealant every three months. This creates a sacrificial layer over your touch-up paint. If you notice things acting weird after a wash, such as why your sensors aren’t working after a bumper repair, it is often due to wax buildup or debris interfering with the electronics. Treat your car’s exterior with the same mechanical respect you would use if you had to how to fix a stripped oil pan drain plug; use the right pressure and the right chemicals every time.
The Future is Self-Healing Surfaces
In the next five to ten years, I predict we will see self-healing clear coats becoming the standard for mid-range vehicles, not just high-end luxury brands. These advanced polymers use ambient heat from the sun to ‘flow’ back into micro-scratches, effectively erasing them. Until that technology is universal, you have to be the guardian of your own clear coat. My challenge for you this weekend: don’t just ‘color in’ a chip. Get a fine-tipped micro-applicator and try the layering method I described. You will be shocked at how much more professional it looks compared to a thick brush stroke.
Why My Early Paint Repairs Always Looked Like Scabs
Looking back at my first few attempts, I realized that I was treating the car like a canvas rather than a machine. One lesson that stuck with me is that paint shrinkage is real. You might think you have filled the hole perfectly, but as the solvents evaporate, the paint pulls back. This is why I now always ‘overfill’ the scratch slightly before sanding it down. It’s a delicate balance, much like the precision needed to diagnose a bad ground wire in minutes.
Another hard-earned truth is that lighting is everything. If you repair a scratch in a dark garage, it will look like a scar in the sunlight. I always check my work under a high-CRI headlamp or pull the car into the driveway for a ‘real world’ inspection. If you find yourself overwhelmed by the technicality, it might be one of the top signs your car needs expert auto repair now, especially if the scratch is near complex body lines or creases.
The Low-Cost Gear That Saves My Clear Coat
You don’t need a thousand-dollar setup to get professional results. I personally rely on the 3M Trizact sanding discs because they provide a consistent finish that’s easy to buff out. I also recommend checking out the ‘PaintSociety’ YouTube channel; the level of detail they provide on color blending is unmatched. For those looking to maximize your car’s lifespan with regular tune-ups, adding a paint inspection to your quarterly routine is a game changer. Also, keep a bottle of Meguiar’s M205 Finishing Polish on hand—it’s the gold standard for removing those final sanding marks without leaving a hazy mess.
Stop Putting Off That Eyesore on Your Door
The first time you sand into your clear coat, your heart will race. But once you see that scratch disappear under a fresh layer of 2K clear, you’ll feel a massive sense of accomplishment. Taking care of these small issues is a vital part of a comprehensive auto repair strategy that keeps your car looking and feeling new for years. Don’t forget that as the weather changes, you should also follow essential car service tips for safe summer drives to keep the mechanical side as healthy as the exterior. You’ve got the tools and the knowledge—now it’s time to get that car looking showroom-ready again. #IMAGE_PLACEHOLDER_E# Have you ever tried to fix a chip only to have it look like a glob of nail polish? Let me know your experience in the comments below!