There I was, cruising down the highway at dusk, when my rearview mirror decided to perform a jittery solo. Every time I hit a tiny pebble or a slight expansion joint, the reflection of the car behind me turned into a vibrating ghost. It’s more than just annoying; it’s a genuine safety hazard when you can’t tell if that’s a police cruiser or a pizza delivery car on your tail. I remember reaching up to steady it, thinking a quick twist would do the trick, only to have the whole thing slump down like a sad sunflower. It felt like my car was literally falling apart, even though I’m usually meticulous about my regular tune-ups. This wasn’t a major engine failure, but it made driving feel chaotic. Today, I’m going to show you how to steady that glass for less than the price of a fancy latte. [image_placeholder]
Stop the Vibration Without Emptying Your Wallet
Most people assume a shaky mirror means the adhesive has failed or the entire assembly is shot. I’ve been there. In my early days of DIY wrenching, I once tried to ‘reinforce’ a loose bracket with a massive glob of generic super glue. Big mistake. The fumes clouded the glass permanently, and the bond was so brittle it snapped off the next time the sun hit the windshield. It was a mess that looked worse than a sagging bumper. You don’t need a professional shop or a hundred-dollar replacement part for this. While preparing for safe summer drives requires many checks, this particular fix is one you can do in your driveway in ten minutes with a simple torx bit or a small shim.
Can a Five-Dollar Fix Actually Hold Up?
You might be thinking this sounds like a ‘hack’ that will fall apart by next Tuesday. It’s a fair concern. However, according to data from the National Highway Traffic Safety Administration (NHTSA), maintaining proper rearward visibility is a primary factor in preventing side-swipe accidents, yet many drivers ignore ‘minor’ vibrations that eventually lead to total mirror failure. This isn’t a ‘duct tape and prayer’ situation; it’s about addressing the mechanical slop. If you’ve ever dealt with a rattling window or had to fix a loose side mirror, you know that the right small adjustment makes all the difference. Have you ever had your mirror start sagging right in the middle of a long road trip? It’s incredibly distracting, but I promise we can fix it permanently today.First, grab a flashlight and look at the base of the mirror where it meets the windshield. You’re looking for a tiny T20 Torx screw or a small hex bolt tucked away in a recessed hole. In many cases, the vibration isn’t the adhesive failing; it’s just this single fastener backing out over thousands of miles of road vibration. I once ignored this on my old sedan, thinking I needed a whole new assembly. I spent an hour researching top signs your car needs expert auto repair now, only to realize I just needed thirty seconds with a screwdriver. Tighten that screw firmly, but don’t go overboard—stripping the threads in the soft mounting metal is a nightmare you want to avoid.
Tighten the Mounting Plate Before It Falls Off
If the screw is tight but the mirror still wobbles, the issue is likely the metal mounting tab that’s glued to the glass. These tabs are like the foundation of a house; if they’re even slightly off, everything on top will shake. Grab the mirror base (not the glass) and give it a gentle wiggle. If the base moves against the windshield, you need to remove the mirror and re-apply a dedicated rearview mirror adhesive kit. Much like how how transmission overhauls save you money in the long run by preventing total mechanical failure, catching a loose mounting tab now prevents the mirror from falling off and potentially cracking your dashboard or center console during a drive. 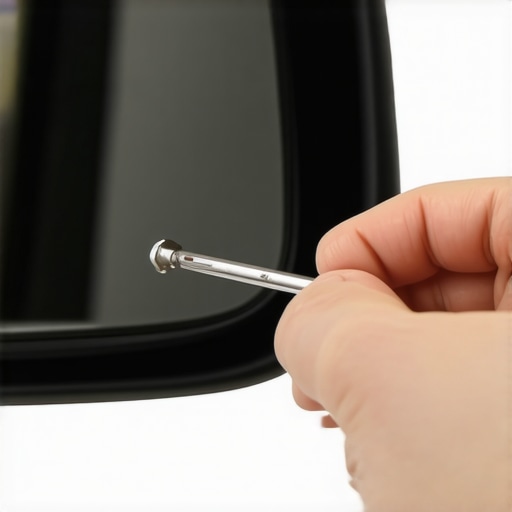
Stop the Ball Joint Jiggle for Good
The most common culprit for the ‘ghosting’ reflection is actually the ball joint inside the mirror housing. Over time, the plastic socket stretches out. Think of it like a pair of old shoes that have lost their shape. To fix this, you don’t need a degree in engineering. You can often use a ‘shim’—a very thin piece of plastic or even a small slice of a rubber band—tucked into the gap of the swivel joint. I tried this on a cross-country trip when my mirror started sagging like a wilted flower. I used a tiny sliver of a plastic milk jug, pushed it into the joint with a flathead screwdriver, and it’s stayed rock-solid for three years. It’s a similar concept to using the $10 clip that stops your window from rattling; it’s all about filling that microscopic gap that causes the noise.
Why Your Mirror Base Might Need a Shim
Sometimes the mounting bracket itself has a tiny bit of ‘slop’ or play. Even if you’ve done your maximize your cars lifespan with regular tune-ups, these small interior components can frustrate the most diligent owner. If the metal tab is secure and the screw is tight, but there’s still a ‘clack’ when you touch it, slide a small piece of electrical tape or a thin cardboard shim onto the mounting tab before sliding the mirror back on. This creates a compression fit that absorbs road shock. This is one of those essential car service tips for safe summer drives that people often overlook because they’re too busy checking tires and fluids. If you’ve already had to how to fix a loose side mirror in five minutes, you’ll find this internal mirror fix follows the same logic of stabilizing the pivot point.
You might think buying the ‘strongest’ epoxy at the hardware store is the path to victory when a mirror falls off. But here is the contrarian truth: more glue is actually your enemy. In my years of troubleshooting, I’ve seen people layer on thick globs of industrial adhesive, thinking they are building a fortress. In reality, automotive glass and metal brackets expand and contract at different rates. A thick, rigid bond will eventually snap under the heat of the sun, much like how the truth about engine flushes for high-mileage cars reveals that ‘more cleaning’ isn’t always better for a delicate system. You need a specialized anaerobic adhesive that creates a microscopic, flexible bond. Anything else is just a temporary band-aid that could end up cracking your windshield.
Why More Glue Actually Makes Your Mirror More Likely to Fall
The biggest ‘oops’ factor I see isn’t the glue itself, but the invisible residue left behind by glass cleaners. If you use a standard blue window spray to prep the glass, the silicone or ammonia in the cleaner creates a barrier that prevents the adhesive from ever truly touching the glass. It might feel solid for a week, but the first humid morning will see it sliding down the dashboard. According to a study by the Adhesion Society, moisture-assisted debonding is the primary cause of failure in glass-to-metal bonds when surfaces aren’t chemically primed. You must use the activator pen included in professional kits; it’s not an optional step, it’s the most important one. 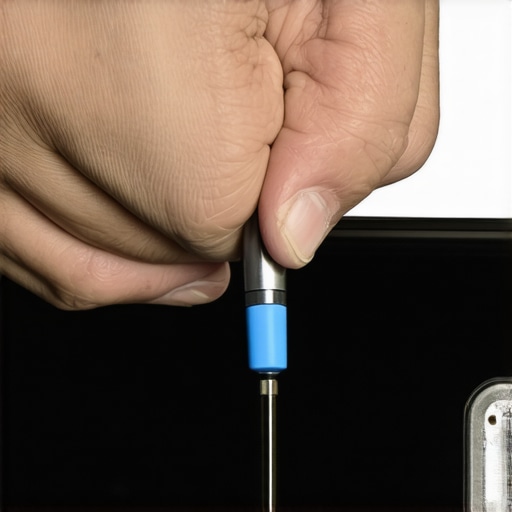
Is Your Mirror Vibration Actually a Sign of Wheel Imbalance?
Here is a nuanced perspective most DIY guides miss: sometimes the mirror isn’t the problem at all. If you’ve tightened every screw and the glass still performs a jittery dance, you might be looking at a harmonic vibration from your drivetrain. I’ve had cases where a driver was convinced their mirror was loose, but the real culprit was that their steering wheel shakes at exactly 60 mph. When your tires are out of balance, the vibration travels through the steering column and frame, often showing up first in the lightest, most sensitive components like your rearview mirror. If you notice the vibration only happens at specific speeds, such as why your car vibrates specifically at 45 mph, stop messing with the mirror and go get your tires balanced. It’s an essential part of maximizing your cars lifespan with regular tune-ups and ensuring essential car service tips for safe summer drives actually keep you safe.
Ignoring these mechanical nuances is why so many ‘easy fixes’ fail within a month. Have you ever fallen into this trap of fixing the symptom instead of the cause? Let me know in the comments. By taking those extra five minutes to prep the surface correctly and checking for underlying vibrations, you ensure that once you fix that mirror, it stays fixed for the life of the car.
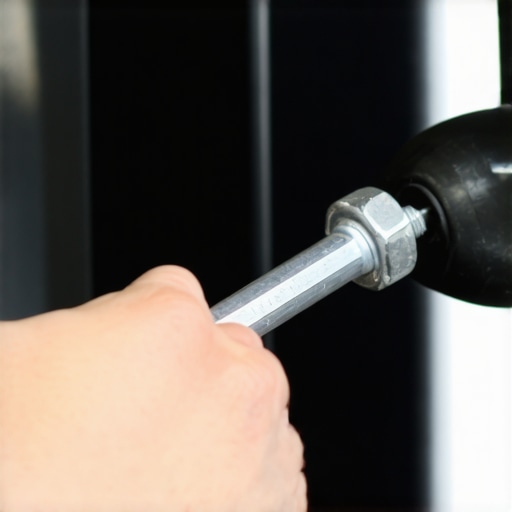
I’ve spent years chasing down rattles, and I’ve realized that the tools you use are just as important as the technique you apply. For mirror work, I never reach for a generic screwdriver found in a junk drawer. I use a dedicated precision Torx set, specifically brands like Wiha or Wera, because they feature ‘anti-cam-out’ tips. If you use a cheap bit and strip that tiny T20 screw, you are basically looking at a dashboard disassembly to fix it. It’s the same logic as when you maximize your cars lifespan with regular tune-ups; you use the right components and tools early on to avoid massive headaches later. Making sure your tool fits perfectly into the fastener is the difference between a ten-minute win and a three-hour nightmare.
How do I keep my car’s interior parts from rattling loose over time?
Maintenance isn’t just for the engine bay or ensuring your how transmission overhauls save you money in the long run. Every six months, I perform a ‘touch-test’ of my interior trim. If a door handle feels slightly loose, I use the $5 way to fix a squeaky door hinge forever or tighten the hidden fasteners before they can back out. Road vibration is a constant, invisible force that slowly unscrews your car from the inside out. To prevent the mirror from vibrating again, I apply a tiny drop of blue threadlocker to the mounting screw. This is a professional-grade tip that keeps the fastener from backing out due to the specific harmonic frequencies of the road. If you find yourself hunting for more complex electronic issues, you might eventually need the $15 tool to find a short circuit in your dash, but for mirrors and trim, mechanical stability is your first line of defense.
Why Digital Mirrors Are the Next Big Shift
Looking toward the future of car service, I suspect the physical glass mirror will soon be a relic. Modern EVs and high-end SUVs are already moving toward camera-based systems. While this eliminates the ‘shake’ associated with a heavy glass assembly hanging off a windshield, it introduces new complexities like sensor calibration and software lag. It is very similar to how top signs your car needs expert auto repair now often involve electronic sensor glitches rather than just mechanical failures. For now, most of us still deal with glass, and precision prep is the only way to ensure longevity. According to the Henkel/Loctite Technical Data Sheet for 37438, the chemical activator must reach a state of partial evaporation for exactly 120 seconds before the adhesive is applied. Most people rush this step, which is precisely why their mirrors fail during the first heatwave of the summer. I want you to try this one specific thing today: Go out to your car, grab the base of your mirror, and give it a firm wiggle. If there is even a millimeter of play, snug that screw up with a drop of blue threadlocker. You will be amazed at how much more ‘premium’ your car feels when the rearview is rock-solid and the ghosting disappears.
Hard-Earned Lessons from the Driver’s Seat
One thing I’ve learned after years of tinkering is that your car’s interior is a symphony of small parts that hate being loose. I used to think a vibrating mirror was just ‘character’ for an older car, but it’s actually a warning sign. If you ignore it, you’re eventually looking at more than just a jittery view; you might end up needing to fix a cracked windshield if the metal tab takes a chunk of glass with it when it finally falls. I’ve also realized that the ‘ten-cent fix’ is often the most durable. Much like the 10-cent trick to fix a floppy sun visor, these mirror adjustments are about restoring the original tension, not fighting the car with brute force.
Another lightbulb moment for me was realizing that heat management is everything. If you live in a place with brutal summers, your adhesive prep has to be flawless. I’ve seen cheap glue turn into a gooey mess that ruins the dashboard. Taking those extra two minutes to let the chemical activator dry isn’t just a suggestion; it’s the difference between a permanent repair and a recurring nightmare that happens every July.
#IMAGE_PLACEHOLDER_E#
My Go-To Gear for a Rock-Solid Interior
If you’re serious about stopping rattles, you need more than just a kitchen drawer screwdriver. I always keep a precision Torx set handy—specifically a T20 bit—because using the wrong size is a one-way ticket to a stripped fastener. For the actual bonding, I only trust professional-grade anaerobic kits like those from Permatex or Loctite. I’ve also found that keeping a small tube of blue threadlocker in my kit is essential for maximizing your cars lifespan with regular tune-ups, as it prevents road vibrations from undoing your hard work. For those who want to be prepared for anything, I also recommend reading up on essential car service tips for safe summer drives so you aren’t caught off guard by the heat weakening your interior bonds.
Reclaim the Joy of a Quiet Drive
There is a specific kind of peace that comes from a car that doesn’t rattle or hum. When your rearview mirror is steady, you aren’t just safer; you’re more relaxed behind the wheel. Don’t let a tiny screw or a loose mounting tab ruin your daily commute. Taking ten minutes this weekend to secure your mirror is the best low-cost, high-reward project you can do for your vehicle. It’s these small victories that make car ownership rewarding rather than a chore. Have you ever had your mirror fall off right in the middle of heavy traffic? Let me know your worst sticky-situation stories in the comments below!