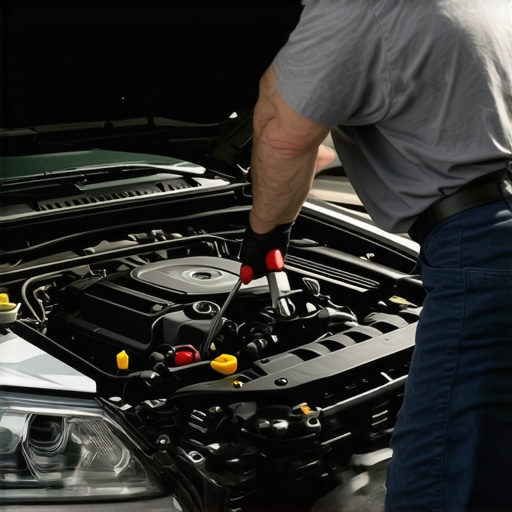
Ever been halfway to work when your engine starts rough, and suddenly you’re hit with that sinking feeling—Did I just blow a gasket? I remember a time when my engine started overheating unexpectedly, and I felt helpless, unsure if I needed a costly trip to the mechanic or if I could handle it myself. That moment was a lightbulb for me—knowing basic DIY checks could save a lot of time and money, and keep me on the road instead of stuck in the driveway.
The Hidden Sign of Engine Trouble That You Can Check Yourself
Is Checking for a Blown Head Gasket Really Worth It?
Before we dive into the practical steps, I want to address the elephant in the garage: many folks think diagnosing a blown head gasket is only for seasoned mechanics. Trust me, early identification can prevent costly repairs down the line. A burst gasket can cause serious engine damage if gone unnoticed. Plus, as I learned early on, rushing to the shop without a clue can lead to unnecessary expenses. According to auto repair experts, catching a blown head gasket early can save hundreds—sometimes thousands—of dollars in repairs. So, yes, it’s not just worth it—it’s essential.
But here’s the catch: many mistakes early on can complicate diagnosis. I once ignored a weird smell in my engine bay, thinking it was just a minor issue. Turns out, that was a symptom of a failing gasket. When you know what to look for, examining your engine becomes more manageable. And there’s nothing quite satisfying about solving a problem instead of just throwing money at it.
If you’re wondering how to check for a blown head gasket at home, stay tuned. We’re going through some simple, effective tests that I’ve used myself—no fancy tools required. And if you’ve faced suspicious engine symptoms but weren’t sure whether it was gasket-related, you’re not alone. Many car owners miss the signs early, leading to expensive repairs. My goal is to help you spot this problem before it gets out of hand, and keep your car running smoothly.
Drain the Coolant and Examine It
Start by checking your radiator coolant. Remove the radiator cap when the engine is cool and observe the color and consistency. Milky or frothy coolant indicates oil and water mix—a surefire sign of gasket failure. I once did this after noticing a white smoke from my exhaust and found the coolant was contaminated. Draining and inspecting your coolant is an easy step that can save you from costly engine repairs later.
Test for Combustion Gases in the Cooling System
Use a Chemical Test Kit
Purchase a combustion leak tester from any auto parts store. Fill the tester with a special dye or chemical, then insert it into your radiator or coolant reservoir following the instructions. If the chemical changes color, combustion gases are escaping into your cooling system, indicating a blown gasket. I tried this during a chilly morning, and the test turned positive—a clear alarm that I needed to address the gasket issue promptly.
Perform the Freeze and Thaw Method
Fill your radiator with water and let it cool completely. Then, carefully pour hot water over the engine block. If visible bubbles or steam escape around the gasket area, it’s a hint of leakage. Always wear safety gear—hot water can cause burns. I did this during a weekend then and there, and observed bubbling around the cylinder head, confirming my suspicion of gasket failure.
Check Oil and Coolant for Cross-Contamination
Remove the oil filler cap and examine the oil’s appearance. Milky or frothy oil means coolant has seeped into the oil chamber. Also, inspect the radiator or coolant reservoir for oily films or foam. This was exactly what I encountered when my engine oil looked like a milkshake, which was a red flag for a blown head gasket. Immediate action prevented further damage.
Inspect Exhaust Smoke for Clues
Look for white smoke emerging from your exhaust—especially when the engine is warm. White smoke that persists or becomes noticeable after startup can indicate coolant entering the combustion chamber. I observed this during a chilly morning start, with thick white smoke billowing from my tailpipe, pointing to gasket issues. Keeping an eye on exhaust smoke can give quick insights into gasket health.
Use a Compression Tester
Connect a compression gauge to each cylinder and record the readings. Significant discrepancies between cylinders suggest a gasket leak. I borrowed this tool from a neighbor during a weekend project. Unequal compression readings confirmed my suspicions, and I was able to plan repairs accordingly. This method provides concrete data about engine integrity.
Remember, tackling these checks requires caution—always work on a cool engine to avoid burns or injuries. Performing these simple tests can catch gasket issues early, saving significant money and preventing engine damage. If any of these signs point to gasket failure, consider consulting a professional for a detailed diagnosis.
Many car owners operate under misconceptions that can lead to costly repairs or missed opportunities for proper maintenance. For instance, a common myth is that all transmission fluids last a lifetime, but in reality, regularly replacing transmission fluid—especially in high-mileage vehicles—is essential [see here](https://collisionfixer.com/the-dirty-secret-of-lifetime-transmission-fluids). Overlooking this can result in severe transmission damage that costly rebuilds can prevent.
What do most people get wrong about collision repair timing?
There’s a misconception that waiting until a problem is visibly severe is the best strategy. However, delaying repairs often exacerbates damage, leading to exponential costs. Small dents or minor alignment issues, if addressed early, can be fixed affordably and prevent secondary damage. Recognizing subtle signs early—like uneven tire wear or slight steering pull—can save you a fortune and extend your vehicle’s lifespan. Experts emphasize proactive maintenance to avoid the trap of neglecting minor issues until they evolve into serious problems.
Many believe that DIY fixes can replace professional service entirely. While minor tasks like changing oil or replacing filters are manageable, attempting complex repairs such as transmission overhauls without proper training can cause more harm than good. For example, improper handling of transmission fluid or incorrect installation of transmission components can lead to shuddering, slipping, or total failure. Always consider professional inspection for critical issues; a misstep can cost thousands in repairs down the line.
Another common mistake involves misjudging when to seek expert help. Some assume that warning lights, like the check engine light, are minor nuisances. But in my experience, ignoring these signals—especially inconsistent engine performance—can lead to engine failure or safety hazards. Diagnosing engine codes with professional-grade scanners often uncovers underlying issues that simple resets can’t fix. For instance, sensors that detect abnormal emissions might also indicate deeper problems with the catalytic converter or engine management system, needing expert attention.
Advanced drivers wonder about the nuances of diagnosing silent or hidden faults. For example, residual rust behind paint or subtle coolant leaks can escape notice during routine checks. That’s why regular comprehensive inspections and understanding the importance of corrosion prevention are vital. Rust can weaken structural components, or coolant leaks can cause engine overheating over time. A proactive approach—like inspecting hidden areas with specialized tools—can catch these issues early.
For deeper insights into these complex issues, consider reading about how transmission overhauls can save you money in the long run and prevent unexpected breakdowns [see here](https://collisionfixer.com/how-transmission-overhauls-save-you-money-in-the-long-run). Recognizing the importance of early diagnosis, understanding the limitations of DIY repairs, and trusting experts for critical repairs are keys to maintaining your vehicle’s health and safety.
Have you ever fallen into this trap? Let me know in the comments how you handle car repairs and maintenance, and stay tuned for more insights to keep your vehicle running smoothly.
Keep It Running: Tools I Recommend for Auto Repair Success
Staying on top of your vehicle’s health requires more than just basic knowledge; having the right tools makes all the difference. Over the years, I’ve honed my toolkit to include high-quality, reliable equipment that ensures precise work and long-term results. For instance, a sturdy oil filter wrench is an invaluable asset when changing filters, especially on tight or rusty units. Its grip minimizes the risk of slipping and damaging the delicate filter housing.
Another indispensable tool is a digital multimeter. I use mine not only for testing batteries but also for diagnosing electrical issues like faulty sensors or wiring faults. Its versatility saves time and helps troubleshoot complex problems without unnecessary guesswork.
Software That Elevates Diagnostic Accuracy
While physical tools are crucial, diagnostic software enhances my ability to identify issues quickly. I rely on OBD-II scan tools that connect to my smartphone via Bluetooth, providing real-time data on engine performance and fault codes. Brands like BlueDriver or FIXD offer comprehensive insights that bridge the gap between amateur and professional diagnostics. Using these tools regularly has increased my confidence in making minor repairs and knowing when to seek expert help.
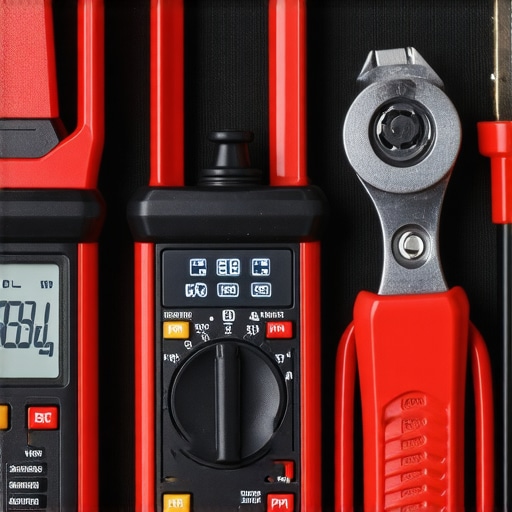
Investing in quality equipment isn’t just about efficiency; it’s about ensuring safety and longevity of your vehicle. Proper tools allow for precise adjustments—whether tuning a transmission or replacing a serpentine belt—reducing the risk of mistakes that can lead to expensive repairs down the line. As technology advances, I predict that diagnostic apps will become even more intuitive, integrating AI to predict possible failures before they happen, much like modern predictive maintenance systems in fleet management.
How do I maintain tools for the long haul?
Maintaining your toolkit involves cleaning, proper storage, and regular calibration. Keep tools like torque wrenches calibrated annually to ensure accuracy. Store everything in a designated toolbox to prevent damage and loss. Additionally, update your diagnostic software periodically for the latest features and fixes, as advised by equipment manufacturers. Consistent maintenance of your tools guarantees they perform reliably when needed most and extends their lifespan.
Switching gears, don’t overlook the importance of regular tune-ups that complement your toolkit investments. Combining proper maintenance habits with the right equipment empowers you to handle most auto repairs confidently, saving money and reducing downtime.
If you’re ready to optimize your car’s longevity, try calibrating your multimeter this weekend or upgrading to a professional-grade scan tool. These small steps can lead to big savings and peace of mind on the road. For more detailed guidance on effective auto repair practices, visit our contact page.
What I Wish I Knew About Auto Repair Hindsight
- Never ignore subtle signs of engine trouble; they often reveal bigger issues ahead. My white smoke saga taught me to trust my instincts and check early.
- Tools are your best friends—investing in quality diagnostic equipment saves time and money. I underestimated the value of a good multimeter until I faced that stubborn transmission shudder.
- Early DIY checks can prevent major repairs. Recognizing coolant contamination and oil froth saved me from a costly gasket overhaul.
- Professional help is invaluable for complex issues; knowing when to seek it is key. I learned this the hard way after trying to fix my slipping serpentine belt without proper knowledge.
- Stay proactive about maintenance; delaying small fixes often results in bigger problems. Regular tune-ups and inspections have kept my car smoother and safer.
Your Roadmap to Smarter Auto Repairs
- Essential tools: A quality digital multimeter and a sturdy oil filter wrench changed my approach, making repairs more efficient. Trust brands like BlueDriver for reliable diagnostics below.
- Educational resources: Books like “Auto Repair for Dummies” and online tutorials boost confidence. Learning about transmission overhauls helped me understand long-term savings and maintenance.
- Professional insights: A trusted mechanic can confirm your DIY findings and prevent costly missteps. Regular inspections provide peace of mind and keep your vehicle running like new.
Take Charge and Drive Confidently
Remember, mastering auto repair isn’t just about fixing cars—it’s about empowering yourself to keep moving forward safely. Embrace the learning curve, gather the right tools, and know when to call in the pros. Your vehicle—and your wallet—will thank you. What’s the first repair task you’re planning to tackle this week? Share your plan below!