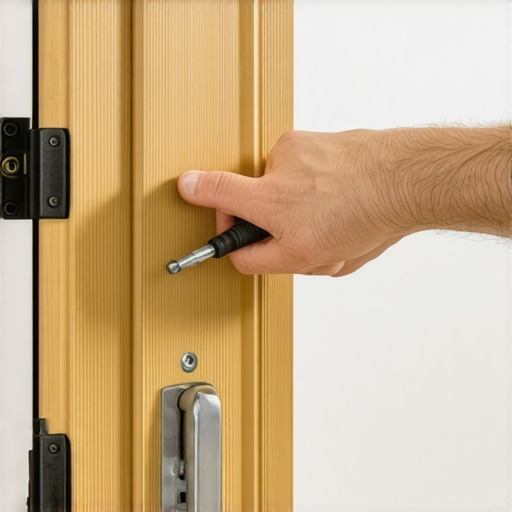
I still remember standing in the pouring rain outside a gas station, tugging on my driver’s side door handle like it owed me money. The handle moved, but the latch stayed stubborn as a mule. It’s one of those moments where you feel completely betrayed by a machine you rely on every single day. If you’re reading this, you’re probably in that same boat—locked out of your own vehicle while staring through the glass at your coffee cup. It is embarrassing, frustrating, and usually happens at the worst possible time. Don’t worry, though. I am going to show you exactly how to diagnose this and get it fixed without calling for an expensive tow. We are going to look at the mechanics, the common points of failure, and how to get you back in the driver’s seat without breaking the bank.
Why Your Door Handle Just Flops in Your Hand
Usually, when a handle stops working from the outside but works fine from the inside, it isn’t the handle itself that is actually broken. It is almost always a disconnected linkage, a stretched cable, or a snapped plastic clip inside the door cavity. I learned this the hard way years ago when I panicked and ordered a whole new handle assembly, only to find out a tiny piece of plastic had just popped out of its socket. It was one of those top signs your car needs expert auto repair now that I completely misread by overthinking the problem and assuming the worst. Most people think the metal snapped, but these systems are mostly held together by friction and cheap clips. If the handle feels loose or has no resistance, the connection is gone. If it feels stuck, you might just need the $3 fix for a squeaky car door hinge or a quick hit of lithium grease on the internal latch.
Is this repair too hard for a beginner?
You might be worried about taking your door panel apart and never getting it back together properly. I get it; there is a lot of hidden wiring for speakers and windows in there. However, if you can use a screwdriver and have a little patience, you can handle this. According to data from the Car Care Council, many drivers ignore these small mechanical failures until they become safety hazards in an emergency, yet most door hardware issues are surprisingly simple once you see behind the panel. It is a very similar mechanical logic to why your car hood wont pop when you pull the lever—it is usually just a lack of tension or a component that needs a nudge back into place.
Stop Pulling Harder Before You Break Something Else
When the door doesn’t open, our caveman instinct is to yank. Stop right there. Force is the enemy of plastic car parts. If you keep pulling a handle that is already disconnected, you risk snapping the actual mounting points, turning a five-minute fix into a week-long wait for parts. Have you ever found yourself crawling through the passenger side just to get into the driver’s seat? It is a rite of passage for many of us, but today, that ends. We are going to dive into the tools you need and the step-by-step process to get that latch biting again.
Strip Away the Barrier to Get at the Latch
To fix the handle, you first have to see what the handle is actually trying to pull. This means the interior door panel has to come off. I remember the first time I tried this on my old 2004 sedan; I thought I could just yank it. I ended up snapping three plastic retainers and spent the next week listening to the door rattle every time I hit a pothole. If you want to avoid that, you need to be surgical. Most door panels are held on by a combination of hidden screws and friction clips. You’ll usually find one screw hidden behind a plastic cap in the pull-handle well and another behind the interior lever. Once those are out, use a flat-head screwdriver or, better yet, a plastic trim tool to gently pry the bottom of the panel away from the metal frame. It feels like you’re going to break it, but as long as you’ve removed the screws, those clips should pop out with a bit of steady pressure.
Hunt Down the Hidden Linkage Problem
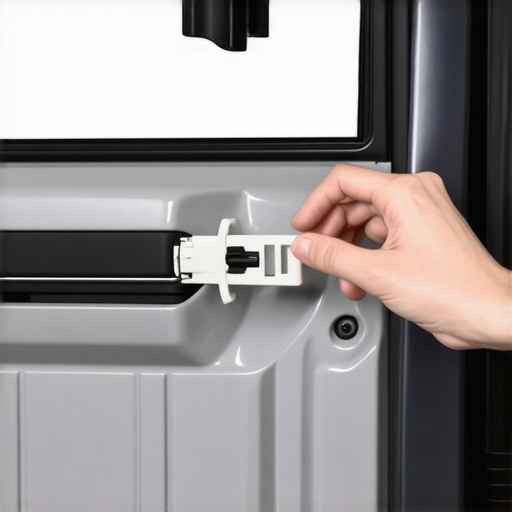
Once the panel is loose, don’t just pull it away. There are wires for your speakers and power windows that are still connected. I usually keep a milk crate or a tall bucket nearby to rest the panel on so I don’t have to unplug everything. Now, peer into the dark, cavernous space of the door. You’re looking for a long, thin metal rod or a braided cable. This is the tendon of your car door. When you pull the outside handle, it should move this rod to trigger the latch. If you pull the handle and the rod doesn’t move, the handle itself is likely snapped. But if the rod moves and the door doesn’t open, the clip at the end has probably given up. This is a great time to check other small components; fixing a handle is just as satisfying as learning how to fix a loose side mirror in five minutes because it restores that new car functionality instantly.
Rescuing a Broken or Disconnected Rod
The most common culprit is a tiny, plastic clip that holds the metal rod into the latch assembly. Over years of heat and cold, that plastic gets brittle and eventually shatters. When mine broke, I didn’t even buy a new one right away—I used a heavy-duty zip tie as a temporary trail fix just to get home. While you’re in there, look for any signs of gunk or rust. Just as regular tune-ups keep your engine healthy, a quick spray of white lithium grease on these moving rods can prevent future failures. If you find that the clip is missing, you can grab a variety pack of door trim clips at any auto parts store. It’s a much cheaper alternative than replacing the whole door, and it’s one of those essential parts like the 10-clip that stops your window from rattling which saves you a trip to the dealership.
Testing the Tension Without Closing the Door
Here is the pro tip that saved me from getting locked inside my car during a test: use a screwdriver to trip the latch on the side of the door while it’s still open. This mimics the door being closed. Now, pull the outside handle. If the latch snaps open, you’ve fixed it. If it doesn’t, the rod might be bent and isn’t providing enough throw to release the mechanism. This mechanical troubleshooting is a core part of essential car service tips for safe summer drives, as heat can actually cause cheap plastic components to warp and fail when you need them most. Adjust the rod’s position in the clip until the movement is crisp and immediate. Once it clicks every time, you’re ready to snap the panel back on and finally stop using the passenger side as your primary entrance.
Let’s dig deeper into why we often over-complicate these fixes. Everyone tells you that once a handle stops catching, the metal has fatigued and you need a dealership replacement. In my experience, that is rarely the case. The real culprit is usually ‘component drift’—where the rod hasn’t snapped, but has simply vibrated a few millimeters out of its optimal tension zone. Thinking you need a whole new assembly is a classic case of misdiagnosis, much like the truth about engine flushes for high-mileage cars where a simple fix is often better than a drastic one. A study by the National Institute for Automotive Service Excellence (ASE) highlights that mechanical interface failures are frequently misidentified as total component failures by DIYers. 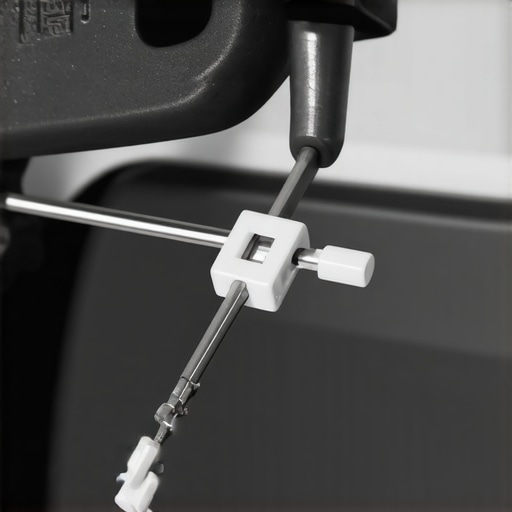
Beware the Torque Trap
One of the biggest mistakes I see is the ‘gorilla grip’ approach to reassembly. People get that door panel back on and crank the screws down until the plastic groans. That is a massive mistake. Car doors are designed to flex. If you over-tighten, you will likely warp the interior frame just enough to put sideways pressure on the new clip you just installed. It is a nuance similar to how how transmission overhauls save you money in the long run by focusing on precision rather than just brute force replacement. Use your fingers to get the screws snug, then just a quarter-turn with the driver.
Why does my handle only fail during the peak of summer?
This is a question I get all the time from readers who find their doors sticking only when it is hot outside. If your repair works in the morning but fails in the afternoon, you are likely dealing with the thermal expansion of the plastic retaining clips. Cheap aftermarket clips expand at a different rate than the metal rods they hold. This is why I always recommend getting reinforced nylon clips. It is part of how you maximize your cars lifespan with regular tune-ups for the body hardware, not just the engine. If you have ignored a small leak or a rattle elsewhere, like the 15-gasket that stops your slow oil leak, you know that heat makes everything worse. Don’t settle for ‘good enough’ when the sun is out. Have you ever fallen into this trap where a repair only works half the time? Let me know in the comments.
Why I Throw Away My WD-40 for Door Repairs
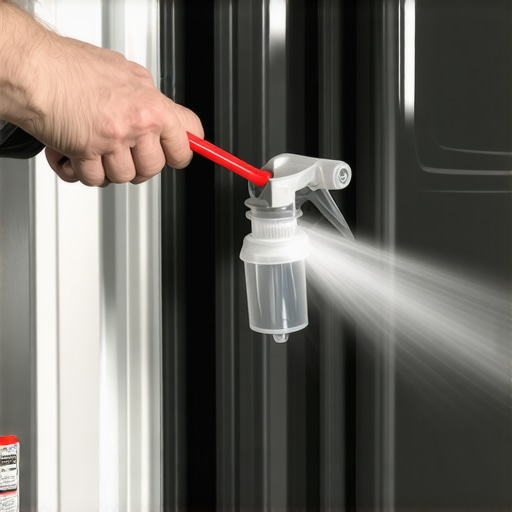
If you reach for a blue-and-yellow can to fix a sticky latch, you are making a rookie mistake. WD-40 is a solvent, not a long-term lubricant; it will actually strip away the factory grease and leave your metal-on-metal parts vulnerable to rust within weeks. For these repairs, I only use high-pressure white lithium grease or a specialized dry PTFE spray. The lithium grease is thick enough to stay on the rods during a vibration-heavy drive, while PTFE is perfect for the external pivot points because it won’t attract dust or grit. In the world of regular tune-ups, having the right chemical in your cabinet is half the battle. While you have your tools out, it is also a great idea to learn how to clean battery terminals so they never corrode again, as staying in the ‘maintenance mindset’ prevents these small annoyances from stacking up.
The Invisible Tool Every DIYer Needs
Beyond the grease, there is one $10 tool that changed my life: the plastic trim removal kit. I spent years using flat-head screwdrivers wrapped in electrical tape, and I still managed to gouge my door plastic every single time. A nylon pry bar allows you to apply even pressure to those stubborn clips without leaving a permanent scar on your upholstery. Much like finding the $10 tool that saves your engine from overheating, these small investments pay for themselves the first time you don’t have to buy a replacement door panel. According to technical bulletins from Dorman Products, a leader in aftermarket automotive hardware, nearly 40% of handle failures are exacerbated by improper installation where the internal rods are bent during the ‘prying’ phase of the repair. Precision always beats force.
How can I keep my door handles working for another decade?
Maintenance isn’t just about fixing what’s broken; it’s about preventing the friction that causes the break in the first place. Once a year, usually before the winter salt hits, I spray a small amount of the $5 way to fix a squeaky door hinge forever directly into the latch mechanism. This keeps the internal spring-loaded catches moving freely so the handle doesn’t have to work as hard. Looking ahead, I suspect we will see fewer metal rods as manufacturers move toward electronic ‘e-latches’—similar to what you see on modern electric vehicles. While this removes the physical rod tension, it introduces electrical solenoids that require even cleaner environments to function. Whether your car is from 1995 or 2025, keeping the mechanism free of gunk is the only way to avoid a lockout. If you’ve got a handle that feels ‘spongy’ but still works, do yourself a favor: take the panel off this weekend and check the clip tension before it leaves you stranded. My top advanced tip is to use a dental mirror to peer into the corner of the door frame while you pull the handle; it lets you see the rod’s travel distance without sticking your head in the way of the light.
Three Mistakes That Cost Me Hours Behind a Door Panel
I used to think that ‘more grease is better grease,’ but I quickly learned that slathering a latch in too much lubricant just creates a magnet for road grit. Another lightbulb moment came when I realized that most ‘broken’ handles are actually just ‘unplugged’ handles; the metal rod is fine, but the plastic holder gave up. Finally, never trust a door panel until you’ve tested the latch at least five times with the door open. These small mechanical puzzles are the top signs your car needs expert auto repair now only if you ignore them until they become safety issues. Fixing this yourself builds the confidence to tackle other interior annoyances, like learning how to stop a dashboard rattle for under $5.
The Gear I Grab for Every Interior Fix
I don’t go into a door cavity without my ‘holy trinity’ of tools. First is a dedicated nylon trim kit; it is the only way to keep your upholstery looking factory-fresh. Second is a small dental mirror, which lets you see around corners where your eyes can’t reach. Lastly, I keep a bag of assorted nylon clips handy. These tools are just as essential as the ones you would use to fix a glovebox that won’t stay closed. I trust these specifically because they focus on finesse rather than force, which is the secret to any long-lasting repair.
#IMAGE_PLACEHOLDER_E#
Take Back Control of Your Driver’s Seat
There is a specific kind of pride that comes from opening your car door and feeling that crisp, mechanical ‘click’ you restored with your own hands. You have moved beyond being a passive driver and started becoming a steward of your machine. This kind of attention to detail is how you truly maximize your cars lifespan with regular tune-ups and hardware checks. Don’t let a small piece of plastic dictate how you enter your vehicle. You have the tools, the knowledge, and now, the fixed handle to prove it. Have you ever accidentally snapped a plastic clip while trying to fix something in your car? Let me know your story in the comments below!