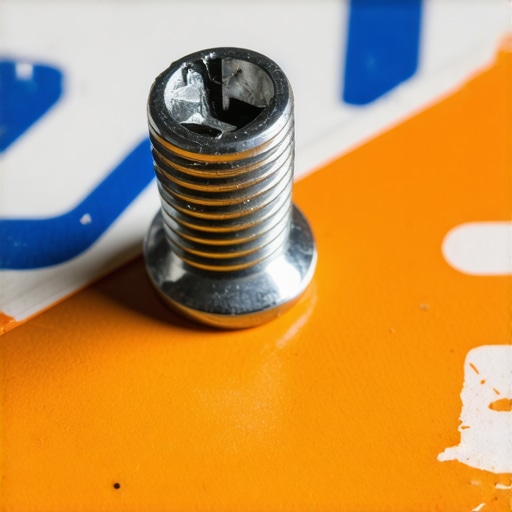
I was standing in my driveway, the sun beating down, clutching a pair of shiny new plates that I’d waited weeks for. All that stood between me and a legal drive was one tiny, rusted-out Phillips head screw. I gave it a firm twist, felt that sickening crunch, and watched as the cross-pattern turned into a smooth, useless bowl of metal. I felt like a total amateur. It’s one of those small problems that can ruin your entire Saturday, much like when your car pulls left only when you brake. We’ve all been there, staring at a five-cent piece of hardware that’s currently winning a war against a two-ton machine. Today, I’m going to walk you through the exact steps to reclaim your bumper. I’ll show you how to pull that stubborn screw out without needing a full-blown auto repair session or a trip to the body shop. I’ve spent years turning wrenches on everything from old trucks to modern hybrids, and I’ve learned that brute force is rarely the answer.
The Moment Everything Went Wrong
I’ll be honest with you: the first time this happened to me, I panicked. I grabbed the biggest drill bit I had and went to town. Huge mistake. I ended up boring a hole straight through the plastic bracket, making it impossible to hold a new screw ever again. It’s the kind of error you make when you haven’t learned the value of patience, much like skipping out on a regular tune-up because you think you’re saving time. Corroded fasteners are a nightmare, especially in states where road salt eats metal for breakfast. In fact, organizations like the Car Care Council emphasize that moisture and salt are the primary drivers of this kind of “galvanic corrosion” between different metals, which effectively welds your screw to the frame. When you see that orange dust falling out, you know you’re in for a fight. It reminds me of the time I ignored that high pitched whistle under my hood—small signs always lead to bigger headaches if you don’t act smart.
Is it really worth the hassle of a DIY fix?
You might be thinking about just gluing the plate on or heading to a mechanic for a five-minute job. But trust me, you don’t want to pay a professional shop rate for something you can handle with a few household items and a little bit of physics. Just like finding the $3 fix for a squeaky car door hinge, there is a certain pride in solving these annoying little glitches yourself. If you can handle this, you can handle learning how to tell if your frame is bent or other diagnostic tasks. Have you ever been defeated by a screw so small you could swallow it? It’s frustrating, right? But before we get the heavy tools out, let’s talk about why this happens and how to prep the area so we don’t cause more damage. We aren’t just trying to move metal; we’re trying to outsmart the rust that’s been building up for years.
Soak the Hardware to Break the Bond
Before you reach for the drill, you need to soften the enemy. Corrosion is essentially a chemical weld, and trying to force it while dry is a recipe for disaster. Spraying the screw with a high-quality penetrating oil—not just a standard multi-purpose lubricant—is non-negotiable. Let it sit for at least thirty minutes. This is foundational maintenance, much like following essential car service tips for safe summer drives to prevent mechanical failures. If the screw is surrounded by white, crusty buildup, you might even benefit from the trick to cleaning battery corrosion with baking soda and water to clear the path for the oil to seep into the threads.
Get Better Traction with Household Items
If the screw head hasn’t completely disintegrated, try the rubber band trick. Take a wide, flat rubber band and place it over the head of the stripped screw. Press your screwdriver firmly into the band and turn slowly. The rubber fills the gaps where the metal has been chewed away, providing just enough friction to catch. It is a low-tech solution that feels like a victory when it works, and it is a smart way to maximize your cars lifespan with regular tune-ups by avoiding more invasive, destructive repairs.
Use a Manual Impact Driver for Sudden Torque
When the rubber band fails, it is time for the heavy hitters: the manual impact driver. This is not a power tool; it is a heavy metal handle that you strike with a hammer. The downward force of the blow pushes the bit deep into the screw to prevent slipping while simultaneously twisting it a fraction of an inch. I remember using this on a rusted-out tailgate plate years ago. I was certain I would have to drill it out, but one solid whack and the ‘unmovable’ screw finally yielded with a satisfying snap. It saved me from a massive headache, much like how how transmission overhauls save you money in the long run by preventing total component failure. 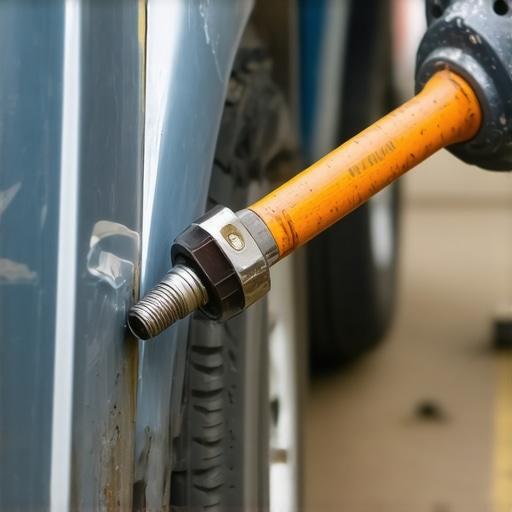
Carve a New Slot for the Screwdriver
If the Phillips pattern is truly a smooth bowl, use a rotary tool with a small cutting disk to carve a single, deep horizontal slot across the face of the screw. This effectively transforms your ruined hardware into a flathead screw. Use the largest flathead screwdriver you own, apply significant downward pressure to ensure the bit stays seated, and twist slowly. If the metal is so soft that even this new slot shears off, it might be one of those top signs your car needs expert auto repair now, specifically if you are at risk of puncturing the plastic bumper or damaging the trunk’s sheet metal beyond a simple DIY fix.
We often assume that if a screw won’t budge, we just need a bigger wrench or a stronger arm. But that is how you end up snapping the head off entirely. In my experience, the brute force method is the quickest way to turn a five-minute fix into a three-hour nightmare. Let’s dig deeper into the physics of why these fasteners fail. Most people think any lubricant will do, but there is a massive difference between a water-displacement spray and a professional-grade penetrant. According to research published by the Society of Automotive Engineers (SAE), the rate of galvanic corrosion—where two different metals essentially weld together—accelerates exponentially in high-humidity or salt-treated areas. If you’ve been keeping your vehicle in peak condition for years, you know that chemical bonds are often stronger than physical ones.
Heat Can Free What Penetrating Oil Cannot
Everyone tells you to soak it in oil, but they forget that the oil needs a path to travel. If the rust is dense enough, the oil just sits on the surface. Here is the trick: use a soldering iron. By placing the tip of a hot soldering iron directly onto the head of the screw for a few minutes, you expand the metal of the screw specifically. This microscopic movement breaks the seal of the rust. It’s a precise application of thermal expansion that works even when the reality behind specialized additives fails to solve the friction problem. It’s the same kind of nuanced thinking required when preventing expensive drivetrain repairs—you have to address the root cause, not just the symptom.
Why is my screw spinning but never actually backing out?
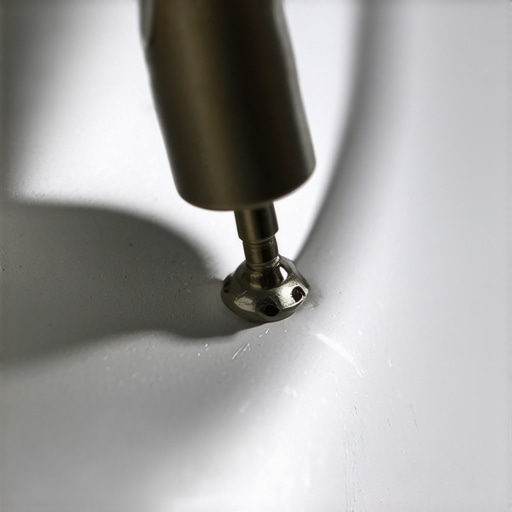
This is the final boss of license plate issues. If the screw turns but won’t exit, the threaded insert, often a nutsert or rivnut, inside your trunk lid or bumper has broken free from its housing. Now, the screw and the nut are spinning together in a dance of frustration. To fix this, you need to create tension. Use a flathead screwdriver to pry outward on the license plate or the screw head while you turn it. This pressure can sometimes provide enough friction to hold the insert in place while the screw backs out. If that fails, you’re looking at a situation as tricky as hidden electrical gremlins that mimic a dead battery. You might need to access the back side of the panel to hold the nut with needle-nose pliers while you work from the front.
The One Mistake That Ruins Your Bumper Permanently
The biggest oops factor I see? Using the wrong replacement hardware. Most people grab whatever stainless steel screw they find at the hardware store. While stainless doesn’t rust, it causes accelerated galvanic corrosion when paired with the mild steel of your car’s body. In a year, that screw will be permanently fused. Always use a dab of anti-seize lubricant on the threads before reassembly. It’s a simple preventative step, much like stopping those annoying metallic vibrations before they drive you crazy. Have you ever fallen into this trap of making a repair only to create a bigger problem later? Let me know in the comments below.
Stop Stripping Heads with These Three Tools
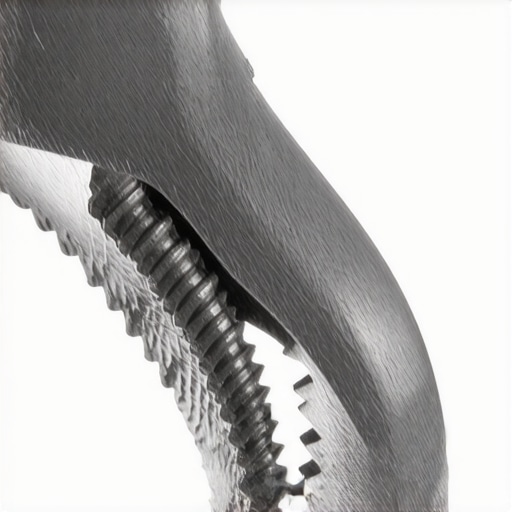
If you plan on doing your own work, you need more than just a generic toolbox from a big-box store. For years, I struggled with needle-nose pliers that slipped until I discovered VamPLIERS. These aren’t just pliers; they have unique vertical serrations inside the jaws designed specifically to bite into the rim of a stripped screw head. While a standard pair of pliers only makes contact on two small points, these grip the entire circumference. According to technical specifications from Knipex and similar high-end manufacturers, professional-grade extraction tools are often induction-hardened to 58-60 HRC on the Rockwell scale. This means the tool is harder than the screw it’s trying to remove, ensuring the teeth don’t flatten out during the process. Having one of these in your kit is just as essential as owning the $10 tool that saves your engine from overheating.
How do I prevent my car’s hardware from seizing ever again?
Maintenance is a long game. To keep your hardware from becoming a permanent fixture of your chassis, you need to be proactive. Every time you have a screwdriver in your hand—whether you are doing a regular tune-up or just swapping a bulb—apply a small amount of nickel-based anti-seize to the threads before re-installing. This creates a physical barrier that prevents the metals from bonding. I also recommend a quick visual inspection during your essential car service routine. If you see white oxidation or orange rust starting to form on a bolt head, don’t wait for it to fail. Back it out, clean it with a wire brush, and lubricate it. It’s the same philosophy behind why transmission overhauls save you money in the long run: catching the decay before it turns into a catastrophic failure is the secret to a stress-free garage life.
Smart Fasteners Are the Future of Your Garage
As cars become more complex, we are seeing a shift away from traditional metal screws in favor of nylon rivets and composite snap-fits. While this reduces weight and eliminates rust, it makes DIY work feel more like surgery. In the next few years, you’ll likely see ‘smart’ fasteners that change color when they reach the correct torque or indicate they’ve been compromised. For now, we are stuck with the metal-on-metal reality of older models. If you ever find yourself staring at a problem that feels beyond your pay grade—like a snapped bolt in a high-stress area—don’t be afraid to look for expert auto repair. There is no shame in knowing when a specialized machine shop is needed to save a rare part. For your next project, I challenge you to go out to your car today, find one screw that looks slightly rusted, and apply a drop of penetrating oil. You’ll thank yourself six months from now when you actually need to move it.
What Years of Sheared Bolts Taught Me About Patience
After decades of working in the garage, I’ve realized that the small stuff—like a rusted screw—is often more stressful than a major transmission overhaul. Here is the insider truth about these pesky fasteners: First, if you feel the screwdriver slip once, stop immediately. Each subsequent attempt reduces your chances of a clean exit by 50%. Second, the factory screws are often the cheapest metal on the car; replacing them with high-quality, coated hardware is a gift to your future self. Third, never underestimate the power of vibration; sometimes just tapping the screwdriver handle with a mallet while you turn is enough to break the rust’s grip. Finally, remember that your time is valuable. If you’ve spent two hours on one screw, it might be one of the top signs your car needs expert auto repair now rather than more driveway frustration.
The Unbreakable Toolkit Every DIYer Needs
I do not believe in buying every gadget on the shelf, but these few items are non-negotiable for anyone serious about maintenance. 1. Professional Penetrant: Skip the generic sprays and get a can of Kroil or PB Blaster; they actually eat through the oxide layer. 2. Screw Extraction Pliers: Brands like VamPLIERS or Knipex have saved me more times than I can count because they grip the side of the head. 3. Nickel Anti-Seize: Applying this to your new screws will maximize your cars lifespan by preventing future chemical welds. 4. A Quality Soldering Iron: It is the safest way to apply targeted heat without melting your plastic bumper trim or damaging your paint.
Take Back Your Bumper and Your Weekend
Don’t let a tiny piece of hardware make you feel like you aren’t capable of handling your own essential car service tasks. Every expert was once a beginner staring at a stripped screw with a sinking feeling in their chest. By using the right tools and staying patient, you’re doing more than just fixing a license plate—you’re building the skills to handle any auto repair that comes your way. You have got this, and your car will be better for the effort you put in today. Have you ever snapped a bolt head off entirely and had to rethink your whole plan? Let me know in the comments below!