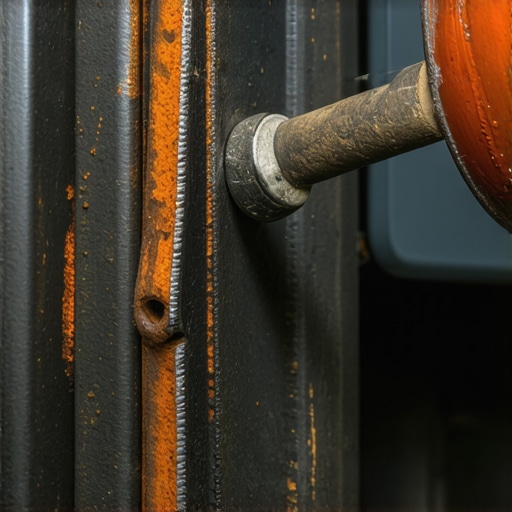
I was standing in my driveway, staring at my truck with a look of pure defeat. All five lug nuts were sitting in a neat little pile on the concrete, yet the wheel stayed exactly where it was. I’d kicked it so hard my toes hurt, and I’d even tried a ‘gentle’ nudge with a rubber mallet, but that wheel was bonded to the hub like they’d been welded at the factory. It’s a frustrating roadblock that can turn a quick afternoon brake check into a multi-day ordeal. If you’ve ever felt like your car was actively fighting your attempts at maintenance, you’re not alone. We’ve all been there, usually right when we’re trying to follow those essential car service tips for safe summer drives. Today, I’m going to share the secret to breaking that rust-bond without damaging your rim or ending up at a shop for expert auto repair. I learned this the hard way after I actually bent a lug stud by trying to pry a wheel off with a six-foot crowbar—a mistake that cost me an extra four hours of work and a lot of pride. Let’s make sure you don’t repeat my rookie errors.
Get That Wheel Off Without Breaking Your Back
The culprit behind this nightmare is usually galvanic corrosion. When an aluminum wheel sits against a steel hub, and you add a little bit of winter road salt or even just rain, they create a tiny electrical battery. According to the American Chemical Society, this electrochemical reaction causes the metals to bond at a molecular level, essentially ‘cold welding’ your wheel to the car. This is often why you might notice why your car shakes only when you hit 65 mph, as the uneven rust buildup prevents the wheel from sitting perfectly flush. If you don’t address it now, you might eventually need to diagnose a bad wheel bearing by sound because of the extra stress placed on the hub assembly. Have you ever spent an entire afternoon fighting a wheel that refused to let go? It is one of the most common DIY hurdles, but the solution doesn’t require a bigger hammer.
Does a bigger sledgehammer really solve the problem?
Many folks think that brute force is the only way out, but hitting the inside of your tire with a heavy mallet can actually damage your suspension components or even knock the car off the jack stands. I used to be a ‘hit it harder’ kind of guy until I realized I was doing more harm than good. Instead of raw power, we’re going to use physics and a little bit of heat-cycle chemistry to pop that wheel loose safely. Before you reach for the heavy tools, you need to understand that the bond is only at the center bore, and that is exactly where we will focus our efforts. Even if you regularly perform a tune up on your engine, the chassis often gets ignored until something gets stuck like this. Setting the stage for a successful removal starts with working smarter, not harder.
Keep the Lug Nuts on the Studs
The biggest mistake people make is removing all five lug nuts and then going to war with the wheel. If you do this, the second that rust bond breaks, the wheel is going to fly off the hub and potentially land on your toes or, worse, damage the threads on your studs. Think of the lug nuts as a leash for a stubborn dog. Thread them back on about three or four turns so there is a gap between the nut and the rim. This gives the wheel room to wiggle loose without becoming a projectile. I remember working on an old F-150 in a muddy driveway during a summer thunderstorm. I was swinging a ten-pound sledge like a madman, frustrated and soaked. When the wheel finally popped, it flew three feet and nearly crushed my foot because I hadn’t left the nuts on. It was a terrifying reminder that even in a simple auto repair, safety measures exist for a reason.
Apply Force Where It Actually Matters
Once your ‘leash’ is on, you need to deliver a shock to the system. Instead of hitting the metal rim, which you will inevitably dent or scratch, use your leg. Sit on the ground (ensure the car is securely on jack stands, never just a floor jack) and give the outer edge of the tire a heavy, rhythmic kick with your heel. Alternate between the 12 o’clock and 6 o’clock positions. This creates a rocking motion that fatigues the corrosion. If your tires are old and you’ve noticed why your tires still wear unevenly after a professional shop alignment, this is also a great time to inspect the inner sidewalls for damage. 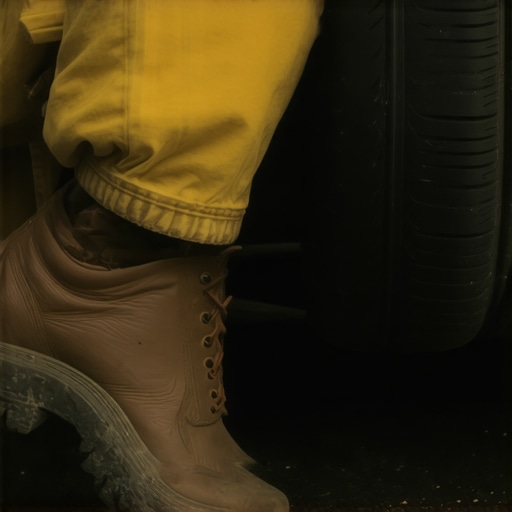
Try the Penetrating Oil and Heat Cycle
When muscle fails, chemistry takes over. You need to spray a high-quality penetrating oil specifically into the center bore and around each lug stud. Don’t just spray and pray; let it sit for at least twenty minutes. The oil needs time to seep into the microscopic gaps created by that galvanic corrosion. This is the same principle you use when you clean battery terminals so they never corrode again—you are breaking down oxidation to restore a clean surface. If the wheel is still fused, you can use a heat gun (not a torch, as you don’t want to melt your valve stems or damage the alloy’s temper) to warm the center of the wheel. The aluminum rim will expand faster than the steel hub, naturally stretching the bond until it snaps.
Clean the Hub Before Reinstalling
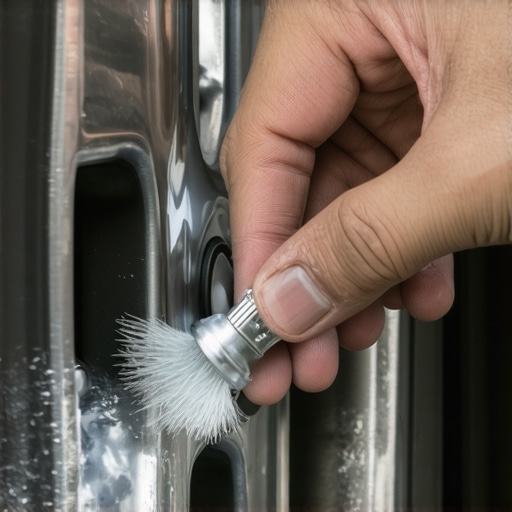
If you manage to get the wheel off, don’t just throw it back on. If you do, you’ll be right back in this mess next time you need a tune up or a brake swap. Use a wire brush or a drill with a wire wheel attachment to scrub the face of the hub and the inner bore of the wheel until you see shiny metal. A thin layer of anti-seize lubricant on the hub’s pilot hole (the center circle) will prevent future bonding. Neglecting this step often leads to a wobbling sensation, much like why your steering wheel shakes at exactly 60 mph, because the wheel isn’t sitting perfectly flat against the rotor. If you ignore the grinding sounds that often accompany these issues, you might eventually have to diagnose a bad wheel bearing by sound alone due to the debris trapped between the surfaces.
Most DIYers assume that more lubrication is always better, but here is where the ‘pro’ mistakes happen. I once saw a guy coat his entire hub in thick copper anti-seize. It seems logical to prevent rust, but copper and aluminum react poorly together. NACE International, the global authority on corrosion, notes that dissimilar metals in contact—especially in the presence of an electrolyte like road salt—undergo accelerated galvanic corrosion. By using copper grease on an aluminum rim, you might actually be ‘sealing’ the wheel onto the hub even more effectively for next year. A better choice is a nickel-based or high-quality ceramic lubricant, and even then, you only need a thin film on the center bore, not the entire face of the rotor.
Another subtle trap involves the lug nuts themselves. If you’ve struggled to get the wheel off, you might be tempted to ‘torque it down’ extra hard when you put it back on to ensure it’s seated. Stop right there. Over-torquing or unevenly tightening lug nuts is the leading cause of warped brake rotors. This creates a pulsating sensation that many drivers mistake for air in the lines, leading them to wonder why your brakes still feel spongy after a full Suffolk County brake service. Always use a calibrated torque wrench in a star pattern. If you don’t, that slight misalignment can lead to issues like why your steering wheel shakes at exactly 60 mph, even if your tires are perfectly balanced.
Can a Clean Hub Still Cause Vibrations?
Sometimes you scrub the hub until it shines, but the car still doesn’t feel right. This is usually because the corrosion hasn’t just sat on top of the metal; it has pitted it. Microscopic pits in the hub or the wheel’s mounting surface prevent a perfectly flat mate. This ‘runout’—even a few thousandths of an inch—is enough to throw off the entire geometry of your suspension. If you’re seeing why your tires still wear unevenly after a professional shop alignment, the issue might be at the hub-to-wheel interface rather than the alignment rack. This is a level of detail that separates a quick tune up from a truly professional maintenance routine.
Lastly, don’t ignore the studs. If you’ve had to use extreme force to get a wheel off, the threads on your lug studs might be stretched or damaged. Putting a nut back onto a compromised stud is a recipe for a snapped bolt at highway speeds. If the nut doesn’t thread on smoothly by hand for at least the first few turns, you might be dealing with a how to fix a stripped oil pan drain plug level of frustration, but with much higher stakes. It’s always cheaper to replace a five-dollar stud than to pay for expert auto repair after a wheel shears off. Have you ever fallen into this trap of over-tightening or using the wrong grease? Let me know in the comments below. If you’re unsure about the state of your chassis after a rough DIY job, it’s always safer to contact us for a professional look.
After you’ve wrestled a seized wheel off, you start to realize that having the right arsenal in your garage isn’t a luxury—it’s a necessity. I spent years using cheap, off-brand wrenches that rounded off bolts and left me bleeding over an engine bay. Now, I’m much more surgical. When you are looking for expert auto repair, you’re often paying for the mechanic’s specialized equipment as much as their knowledge. But for the DIYer, knowing which tools to invest in can save you thousands over the life of your vehicle.
The Tools I Trust for Heavy Lifting
I don’t care how strong you think you are; a quality 1/2-inch drive torque wrench is non-negotiable. I personally use a split-beam style wrench because you don’t have to wind it back down to zero after every use, which preserves its calibration. This ensures that every time you perform a tune up or a wheel rotation, you aren’t accidentally warping your rotors. Another tool that changed the game for me is a high-end OBD2 scanner. It isn’t just about reading codes; it’s about knowing how to read live data to find a misfire before it destroys your catalytic converter. I’ve caught several failing oxygen sensors early just by watching the voltage oscillations on a graph, something a cheap ‘code reader’ would never show you.
How to Keep Your Hubs Smooth for a Decade
Maintaining the chassis and drivetrain requires more than just luck. According to the Permatex Technical Data Sheet (TDS-24125), high-temperature ceramic lubricants are formulated to resist washout and maintain protective properties even under extreme pressure. This is exactly why I’ve switched away from basic silver greases. By applying a thin film of this to the hub pilot during every brake job, I’ve never had a wheel seize again. It’s a small step, but it’s part of the essential car service tips for safe summer drives that most people overlook until they are stranded on the shoulder of the highway. 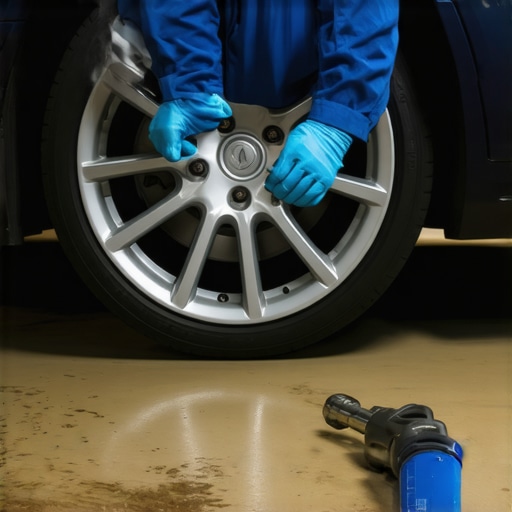
Is Your Transmission Paying the Price?
We often focus on what we can see, but the internal health of your drivetrain is where the real money is saved or lost. I’ve found that many shifting issues people attribute to a failing gearbox are actually sensor or fluid related. However, if you’re noticing consistent slipping or grinding, understanding how transmission overhauls save you money in the long run is vital. It’s better to rebuild a unit before it grenades and sends metal shards through your cooling lines. In the future, I expect we will see even more sensitive electronic transmissions that require precise software calibrations, making the ‘old school’ methods of just changing fluid less effective without a proper computer interface. If your vehicle feels like it’s losing its edge, don’t wait for a total breakdown; it’s always better to contact us for a professional diagnostic scan before a minor glitch becomes a major bill. If you want to take your maintenance to the next level, I strongly suggest using an infrared thermometer to check your hub temperatures after a long drive; a hub that is significantly hotter than the others is your first warning sign that a bearing is failing before you can even hear it.
Lessons from My Most Frustrating Afternoon in the Driveway
The first time I faced a seized wheel, I thought I was just unlucky. But after speaking with veteran mechanics, I realized it’s a predictable science. One major lightbulb moment was learning that a wheel doesn’t have to be ‘stuck’ for it to be dangerous; microscopic pitting on the hub surface is enough to cause vibrations that mimic a bent rim. I also learned that patience is a tool just as much as a wrench—letting that penetrating oil soak for 30 minutes while you have a coffee saves hours of sweating and swearing later. Most importantly, I realized that regular maximize your cars lifespan with regular tune-ups should always include a quick inspection of the wheel-to-hub interface, especially if you live in a salt-heavy region. If you catch the corrosion early, you avoid the ‘sledgehammer phase’ entirely.
The Gear That Saved My Sanity
When it comes to keeping your vehicle in peak shape, I rely on a few specific items. First, a split-beam torque wrench is a life-saver because it maintains accuracy without constant resetting, ensuring you never warp a rotor. Second, I always keep a tin of nickel-based anti-seize nearby; it’s specifically designed for high-heat environments and doesn’t cause the same issues as copper when touching aluminum. Finally, I recommend a heavy-duty wire wheel for your cordless drill. It turns a ten-minute scrubbing job into a thirty-second polish, making sure every essential car service tips for safe summer drives task is done to professional standards. These aren’t just gadgets; they are the difference between a successful weekend project and needing expert auto repair. #IMAGE_PLACEHOLDER_E#
Take Control of Your Garage Again
Maintaining your own vehicle can be intimidating, but every time you solve a problem like a stuck wheel, you’re gaining a new level of mechanical independence. Whether you’re investigating how transmission overhauls save you money in the long run or just swapping your summer tires, the confidence you build is worth the grease under your fingernails. Don’t be afraid to get your hands dirty, but know that if a job ever feels over your head, you can always contact us for guidance. Your car is a complex machine, but with the right approach, you are more than capable of keeping it on the road for years to come. Have you ever been stuck with a wheel that felt like it was welded to the car? Tell me your survival story in the comments below!