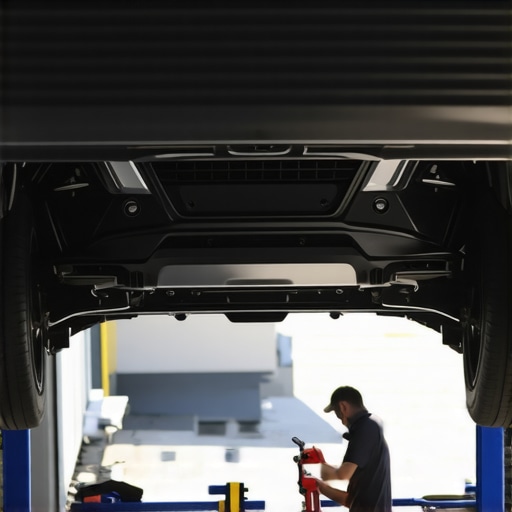
Ever been on a peaceful drive when suddenly, a bizarre flapping sound disrupts your serenity? Maybe a gust of wind catches your undercarriage, and that irritating noise begins—like a flag fluttering in a storm. I remember the first time I heard it; I was convinced I had a loose animal trapped underneath! That lightbulb moment made me realize how common and annoying a flapping underbody shield can be.
Why a Flapping Underbody Shield Is More Than Just Annoying Noise
Beyond the noise, a loose or damaged shield can lead to real problems—like dirt, debris, or water splashing up onto critical components of your car. Over time, that can cause corrosion or other damage that’s costly to repair. Plus, if you’re like me, you might worry about safety, thinking that a loose shield could possibly interfere with your vehicle’s aerodynamics or even come loose while driving. That’s when I realized, fixing this doesn’t have to blow the budget or require a mechanic’s full workshop. Sometimes, a simple, cost-effective fix can save you hundreds—literally!
Is It Really Worth Troubling Over?
I used to ignore that flapping as just a minor annoyance, until I learned I was making a costly mistake. Early on, I assumed that all fixes needed expensive parts or professional help. That’s a mistake I won’t make again! For example, I once spent hundreds replacing parts unnecessarily because I didn’t investigate simple fixes first. Now, I want to share what I’ve discovered. Today, I’ll guide you through a straightforward method that costs only around $15, yet can eliminate that pesky noise for good. Are you tired of the noise and ready to save some money? Let’s get started.
And if you want to stay ahead with your vehicle’s health, check out top signs that your car needs repair to keep your drive safe and smooth.
Ensure your repair doesn’t turn into a bigger headache—by knowing exactly what goes into fixing your underbody shield, you can save money and avoid the frustration of unnecessary trips to the shop. Ready to learn the simple, affordable trick I swear by? Let’s dive in and bring your car back to peace and quiet.
Identify the Flapping Source Clearly
First, park your car on a level surface and turn off the engine. Open the hood and visually inspect the undercarriage from below, looking for loose or hanging shields. Use a flashlight if needed. I once spotted a loose clip on the rear edge that was making the shield flap loudly against the tire after a windy day. Recognizing the precise source prevents unnecessary part replacements and ensures you target your fix effectively.
Gather Affordable Tools and Replacement Parts
You’ll primarily need a jack, jack stands, a screwdriver or wrench set, and replacement clips or fasteners, which are usually available for less than $15 at auto parts stores. Think of it as replacing a missing button on your shirt—simple tools, straightforward fix. I recommend keeping a set of these clips handy; I once fixed a similar issue on my weekend car when a clip snapped after a rough driveway, and it took less than ten minutes.
Safely Elevate and Access the Underbody
Properly raise your vehicle using the jack and secure it with jack stands. Use wheel chocks for safety. This is crucial because working under a car without stable support is dangerous. Picture it like a tightrope walker: stability is everything. Once elevated, slide under the vehicle with your tools. You get a clear view of the shield’s attachment points, making it easier to identify broken or dislodged clips.
Remove Damaged or Loose Clips Carefully
Using a flat-head screwdriver or trim removal tool, gently pry out the damaged clips. Be cautious not to pry excessively, as plastic clips can break easily—especially in cold weather. I once tried to force a stubborn clip, and it snapped in half, forcing me to buy new clips. Gentle approach prevents further damage and saves money in the long run.
Replace with the Correct Clips and Secure the Shield
Install new clips where old ones were removed. Ensure the shield lines up properly with the mounting points and snap the clips in firmly. Visualize fitting a puzzle piece; everything should click into place smoothly. Test the shield by gently pushing it; it shouldn’t move or flap. This ensures a tight fit that will withstand wind and speed.
Double-Check Your Work and Lower the Vehicle
Remove the jack stands carefully, ensuring no tools or parts are left under the vehicle. Lower it slowly and listen for any unusual sounds. Then, take a quick drive at low speed to confirm the flap noise is gone. If the sound persists, re-inspect the attachment points. Confidence in your fix comes from verification, not just assumption.
Prevent Future Issues by Regular Inspections
Make it a habit to check your underbody shields regularly—especially after rough roads or windy days. This proactive approach avoids sudden noise disruptions and potential damage. Think of it like brushing your teeth: small daily routines prevent bigger problems. For comprehensive vehicle maintenance tips, consider visiting our seasonal car care guide.
Restoration of your underbody shield’s stability isn’t just about silence; it’s about maintaining your vehicle’s safety and longevity. With simple tools and a bit of attention, you can keep your car quiet and worry-free on the road.
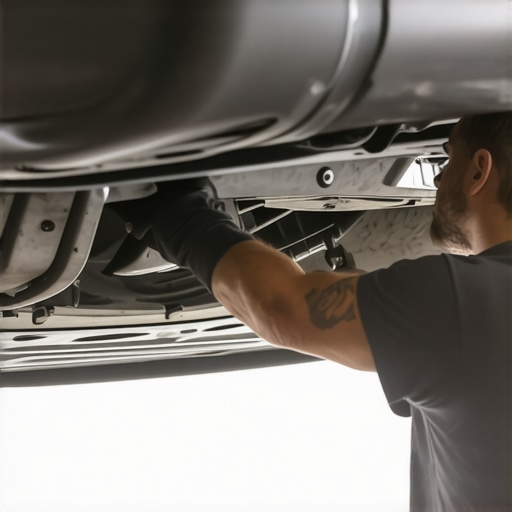
Many car owners assume they understand auto repair basics, but in reality, a lot of common beliefs are oversimplified or downright misleading. For instance, the notion that all problems require expensive parts or professional mechanics can lead to unnecessary costs. In my experience, recognizing the nuances—like the significance of proper transmission fluid or the hidden signs of impending issues—can save you both money and stress. One prevalent myth is that a car’s transmission can’t be repaired unless it completely fails; however, as discussed in this guide, timely minor repairs or fluid changes can extend its lifespan significantly, often avoiding costly overhauls.
Should You Always Trust the Dealer for Maintenance?
Many believe that dealer service centers are the only reliable option for car maintenance, but in reality, not all dealer services are superior. Sometimes, independent shops or even DIY solutions can be just as effective—provided you have the right information. Knowing how to schedule regular tune-ups and recognizing when professional help is necessary is part of mastering your vehicle’s care.
Another common misconception involves the importance of synthetic oil; many think it’s a mere marketing gimmick, but studies, such as those from industry experts, confirm that synthetic oils can offer superior engine protection, especially for high-mileage vehicles. However, using the wrong type of oil or neglecting regular oil changes can lead to premature engine wear, which is a mistake many make.
What Are the Risks of Ignoring Warning Signs?
Overlooking subtle symptoms—like strange noises, sluggish responsiveness, or dashboard warning lights—can escalate into serious and costly failures. For example, ignoring a minor tranny slip could result in a complete transmission overhaul, which is significantly more expensive than a routine flush or fluid top-up. To stay ahead, it’s crucial to recognize early warning signs and address them promptly.
Additionally, many drivers underestimate the importance of proper tire alignment and balancing, believing they can ignore uneven wear until it becomes severe. But as outlined in this article, small misalignments can impact fuel efficiency, tire longevity, and safety long before they’re noticeable to the naked eye.
Misconceptions about car service extend beyond simple repairs; for instance, some think that the first sign of trouble indicates the end of a component’s life. Yet, understanding the hidden nuances of how parts wear—like micro-cracks in the windshield or early brake pad deterioration—can help you act proactively.
In wrapping up, I urge you to question common beliefs and learn the subtle signs that differentiate a minor hiccup from a major breakdown. Remember, effective maintenance isn’t just about reacting to problems but understanding the real mechanics underneath. If you want to keep your vehicle running smoothly and safely, paying attention to these advanced nuances is key. Have you ever fallen into this trap? Let me know in the comments, and stay vigilant on your road to automotive mastery.
Tools I Recommend for Reliable Auto Maintenance
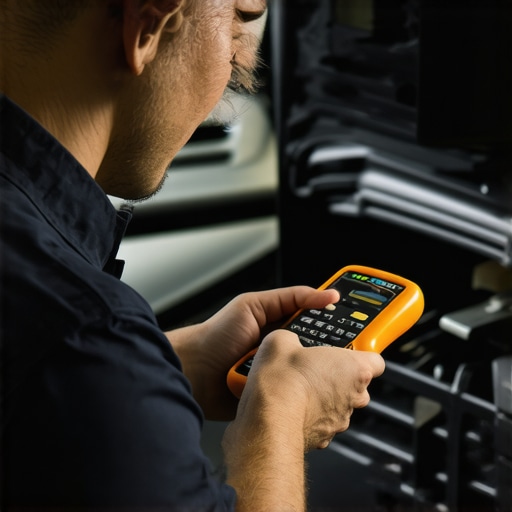
Maintaining your vehicle over the long term requires more than just know-how—it demands the right set of tools. I swear by a high-quality digital multimeter for diagnosing electrical issues precisely; understanding a vehicle’s complex electronic systems is crucial, and a reliable multimeter allows me to quickly identify faulty sensors or wiring problems, especially when troubleshooting complex issues like misfires or battery drains.
Another indispensable tool is a professional-grade OBD-II scanner. Unlike generic code readers, a comprehensive scanner provides real-time data and detailed fault codes, making it possible to pinpoint problems such as transmission slip or check engine lights with confidence. I use the Bluetooth-enabled OBD-II scanner model X, which pairs effortlessly with my smartphone, simplifying diagnostics during roadside emergencies or regular tune-ups.
When dealing with suspension or brake components, I rely on a sturdy hydraulic jack and jack stands from brands like Torin or Arcan. Proper safety equipment is non-negotiable; I always double-check that my stands are rated for my vehicle’s weight before lifting, preventing accidents and ensuring safe access to critical parts. For example, when replacing struts or inspecting wheel bearings, these tools make the job safer and more efficient.
Software Tools to Enhance Your Maintenance Routine
Beyond physical tools, digital solutions can elevate your car care. Modern repair manuals like Haynes or Chilton’s digital apps provide step-by-step instructions tailored to your specific make and model—an invaluable resource for DIY enthusiasts. I also subscribe to diagnostic software like OBDLink, which allows me to connect my scanner to my laptop and access deeper system data, monitor sensor performance, and even log data over time. This proactive approach can alert me to creeping issues—like a gradual decrease in transmission fluid temperature or a rising engine coolant temperature—before they become serious problems.
Making Maintenance a Habit—Future Trends
In the future, I see the role of tools expanding with the integration of IoT devices and smart diagnostics. Imagine having sensors embedded in your car that automatically alert you to developing issues and suggest targeted repairs via your smartphone. This shift will make routine maintenance more predictive than reactive, helping extend your vehicle’s lifespan and improve safety. Staying ahead means embracing these innovations, ensuring you’re equipped to handle whatever your car throws at you.
How do I maintain my vehicle over time?
The key is consistent, scheduled checkups—like routine oil changes, fluid top-ups, and inspections. Regularly consulting resources like our guide on maximizing your car’s lifespan helps you understand what to look for. Using the right tools, staying updated on technical trends, and addressing minor issues promptly can prevent major breakdowns. One tip I recommend trying is setting up a diagnostic log with your OBD-II software, so you can monitor trends over months and catch early warning signs of transmission or sensor failures, as explained in this detailed guide.
Remember, the goal isn’t just fixing problems as they arise but preempting them. By investing in quality tools and adopting a proactive maintenance mindset, you’ll keep your vehicle reliable and safe for miles to come. If you’re ready to upgrade your toolkit, start with a reputable OBD-II scanner paired with software that offers real-time insights. The future of auto care is smart, connected, and tailored to your needs—embrace it today!
Lessons That Changed How I Approach Car Fixes
- Not all problems need fancy parts: I used to think a loose shield meant expensive replacements. Now I realize a simple clip and some patience can save hundreds.
- Inspect before fixing: A thorough visual check reveals the real source of the flapping—sometimes it’s just a missing or broken clip, nothing more complex.
- Safety first: Properly elevating your vehicle is crucial; rushing without secure stands risks injury—and that’s a lesson no DIY repair can ignore.
- Proactive checks pay off: Regular undercarriage inspections prevent annoying noises and costly damage, transforming car care into a habit rather than a chore.
Tools and Resources That Made My Repairs Simple
- Good-quality jack and stands: Trusted brands like Torin ensure safety and ease during lifts. Investing in reliable equipment makes all the difference.
- Affordable replacement clips: Stock up at auto parts stores— cheap and effective, they’re your first defense against flapping noises.
- Bright flashlight: A powerful torch illuminates hidden issues, turning a frustrating noise into a clear, solvable problem.
- Online guides and tutorials: Websites like CollisionFixer offer step-by-step instructions that boost your confidence and accuracy in DIY fixes.
Keep Moving Forward, Stay Confident
Taking charge of your car’s maintenance isn’t just about fixing a noise—it’s about empowering yourself to understand and care for your vehicle better. Small, affordable fixes like securing your underbody shield build your skills and trust in your abilities. Remember, every repair you master is another step toward a safer, quieter ride. Ready to tackle your car’s next challenge? Share your experiences or questions below—let’s learn together!