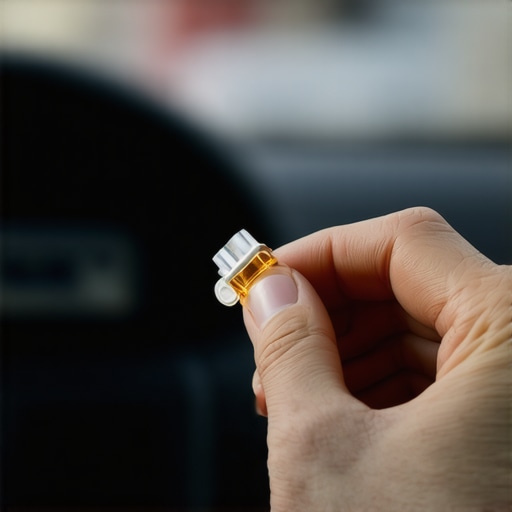
I remember sitting in my driveway on a Tuesday morning, frantically hitting the power button on my dashboard until my thumb actually started to ache. Nothing but silence. No morning news, no music, just the dull hum of the engine and my own growing frustration. I was absolutely certain that my head unit had finally given up the ghost after a decade of faithful service. In a moment of pure panic, I even went as far as ordering a brand-new aftermarket unit for $150 before I even bothered to pop the hood or look under the dash. It was a classic rookie move, and quite frankly, it was embarrassing. I wasted a whole weekend and a decent chunk of my paycheck because I assumed the worst-case scenario. Don’t be like me. Most of the time, your car radio isn’t actually dead—it has just been cut off from its power source by a tiny, five-dollar piece of plastic that decided its time was up. Today, I want to walk you through why this happens and how you can save yourself a massive headache.
Don’t Rip Your Dashboard Apart Just Yet
When things stop working in a vehicle, our brains tend to jump straight to the most expensive repair possible. It is very similar to why your car won’t start even though the lights turn on; we often assume the core of the machine is broken when it is really just a simple connection issue. Electrical systems in modern vehicles are incredibly finicky, but they are also designed with very specific fail-safes. These fuses are the unsung heroes of your car, sacrificing their own internal filaments to save your expensive electronics from power surges or shorts. If your screen suddenly goes dark after a jump-start or a particularly bumpy road, you aren’t necessarily looking at a transmission-level disaster or a need for a massive car service. You are simply looking for a break in the circuit that can be fixed in minutes.
I have seen so many people spend hundreds of dollars at local shops because they simply didn’t know where to look. According to data provided by AAA, the average labor rate for electrical diagnostics can easily exceed $100 per hour in most regions. That is a steep price to pay for someone to swap out a part that costs less than a cup of coffee. Before you decide you’ve reached the top signs your car needs expert auto repair now, we need to do a little bit of DIY detective work. Have you ever faced a dead radio and immediately feared the worst for your bank account?
Is a dead radio actually worth the stress of a shop visit?
I completely understand the skepticism. It feels like it should be more complicated than a little plastic plug, right? But the reality is that manufacturers place these fuse boxes in relatively accessible spots for a reason—they are meant to be serviced. To find the exact problem without losing your mind, I highly recommend using a 15 dollar tool to find a short circuit in your dash, which makes the diagnostic process almost foolproof even for a beginner. In my early days of tinkering, I would pull every single fuse one by one, squinting at them in the fading sunlight while dropping half of them into the dark abyss of the floor mats. It was a nightmare. Now, I know that with the right approach, you can verify a blown fuse in seconds. We are going to dive into the exact steps to locate your fuse panel, identify the radio circuit, and get your music back without ever having to touch a screwdriver to your delicate dashboard trim.
Look Under the Dash Before Calling for Help
First, you need to find where the manufacturer hid the fuse box. In most modern vehicles, you aren’t just looking in one place. One box is almost always under the hood, usually near the battery, and another is tucked under the dashboard near the driver’s left knee or behind the glovebox. If you are struggling with broader electrical issues, learning how to diagnose a bad ground wire in minutes is a game-changer before you start pulling parts. I remember one humid July afternoon when I was sweating through my shirt, convinced my alternator was shot because the radio and the dash lights were flickering. It turned out to be the 5 dollar fuse that acts like a dead alternator. I had spent hours researching essential car service tips for safe summer drives, but the answer was right in front of me in the passenger-side footwell.
Identify the Culprit with a Simple Map
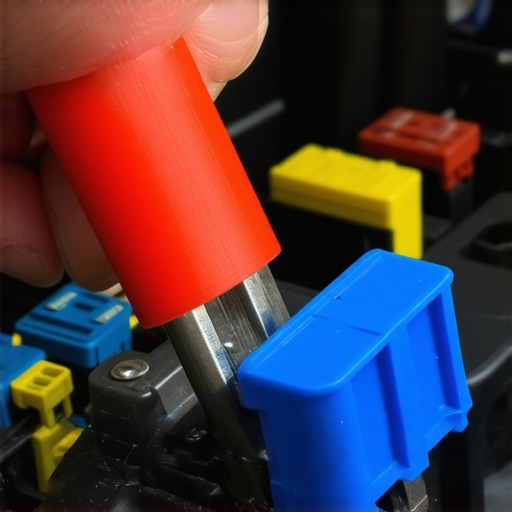
Once you find the box, don’t start pulling fuses at random. Look at the underside of the plastic cover you just removed; there is usually a printed diagram that labels every circuit. You are looking for labels like ‘Radio,’ ‘Audio,’ or ‘ACC.’ If that diagram is faded or missing, you will need to use the 15 dollar tool to find a short circuit in your dash. This simple test light allows you to touch the tiny metal test points on top of each fuse. If one side lights up the bulb and the other doesn’t, the circuit is broken inside that fuse. Think of a fuse like a small bridge over a river. If the bridge is washed out, the traffic (electricity) simply cannot reach the other side to power your speakers.
Match the Amperage Exactly to Prevent a Fire
When you finally pull the suspect fuse, look at the metal filament inside the colored plastic. If it is broken or there is a visible black smudge, it is definitely dead. Replacing it is a key part of how you maximize your car’s lifespan with regular tune-ups and basic maintenance. However, you must be extremely careful to replace it with a fuse of the exact same color and amperage rating. I once saw a guy try to bridge a blown 10-amp fuse with a silver gum wrapper because he didn’t have a spare. It worked for about thirty seconds before his dashboard started billowing acrid white smoke. That is a very fast way to ensure why your dash lights flicker when you use the turn signal becomes the least of your concerns. Take your time, line up the prongs, and press the new fuse in firmly until it clicks.
What to Do When the New Fuse Pops
If you swap the fuse and the radio works for a second but then immediately goes dark again, you have a deeper short circuit. This usually happens when a wire is pinched or rubbing against the metal frame of the car. In my old truck, the radio would die every time I shifted into reverse. It took me a week of messy troubleshooting to realize the reverse light wire was frayed and touching the chassis, causing the entire audio circuit to collapse under the surge. This is the ‘detective’ phase of auto repair where you check the wires behind the head unit for signs of wear. It is a bit tedious, but it is the difference between a free fix and a massive shop bill.
I’ve seen it a hundred times: a DIYer replaces the fuse, sees that it’s not blowing anymore, but the radio remains a black brick of useless plastic. This is where most people give up and assume the internal circuitry is fried. In my experience, the biggest mistake is assuming that ‘power in’ equals a ‘functioning device.’ You need to look at the other side of the equation—the return path. If you don’t know how to diagnose a bad ground wire in minutes, you’re only doing half the job. According to the National Institute for Automotive Service Excellence (ASE), electrical issues are frequently caused by high resistance at connections or loose grounds rather than total component failure. A corroded ground screw or a loose pin in the harness can mimic a dead radio perfectly. 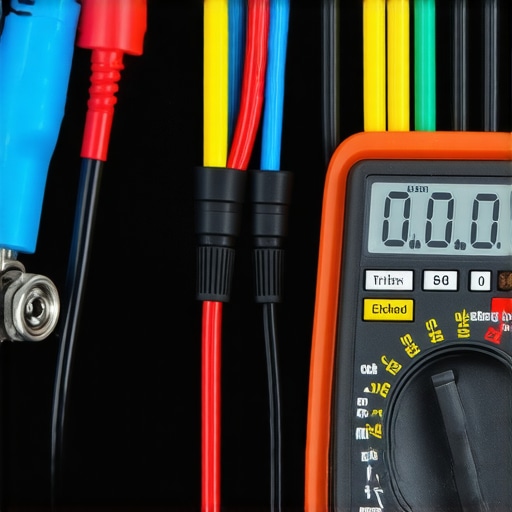
What if the fuses are fine but the screen stays black?
This is where things get interesting for modern vehicles. If you’ve verified the power and ground, you might be dealing with a ‘locked’ head unit or a CAN bus communication error. Before you panic about top signs your car needs expert auto repair now, try a hard reset by disconnecting the negative battery terminal for ten minutes. It sounds like IT support advice—’have you tried turning it off and back on?’—but in the era of complex infotainment systems, it works more often than you’d think. However, be careful; on some luxury brands, this might trigger a security lockout that requires a specific dealer code to unlock. It’s a classic trap that turns a five-minute fix into a week-long ordeal. Also, keep an eye on the hidden drain that kills your battery overnight, as a glitchy radio module is often the silent culprit behind a dead car in the morning.
I once worked on a sedan where the owner had replaced the radio three times. THREE times. Each time, it worked for a week and then ‘died.’ It wasn’t the radio; it was a microscopic crack in the solder of the main power relay. We often treat the goal to maximize your car’s lifespan with regular tune-ups as just oil and filters, but checking your electrical health is just as vital. Have you ever fallen into this trap of replacing a part only to find the problem was a simple wire? Let me know in the comments. If you’re still stuck, it might be time to check if why your dash lights flicker when you use the turn signal is related to the same harness, which could point to a bigger issue under the steering column or a failing ignition switch circuit.
After you’ve chased a few wires through a cramped dashboard, you start to realize that prevention is worth its weight in gold. I don’t just wait for things to break anymore; I treat my car’s electrical system with the same respect I give the oil or the brakes. If you want to maximize your car’s lifespan with regular tune-ups, you need to look beyond the filters and fluids. High-vibration environments—like what happens when your transmission jumps out of gear on bumps—can actually rattle internal solder joints and loosen plastic connectors over time. If these connections degrade, your radio is often the first thing to show signs of trouble.
How can I keep my audio and electrical systems healthy for years?
The secret isn’t expensive upgrades; it is keeping things clean and tight. Every time I perform a seasonal car service, I take five minutes to inspect the battery terminals and the main ground points. According to technical data from Mitchell1 ProDemand, nearly 30 percent of intermittent electrical failures in vehicles over five years old are caused by high resistance at terminal connections. I have started using a high-quality electronic contact cleaner on every harness I unplug. It prevents the oxidation that leads to why your dash lights flicker when you use the turn signal and keeps the current flowing smoothly. 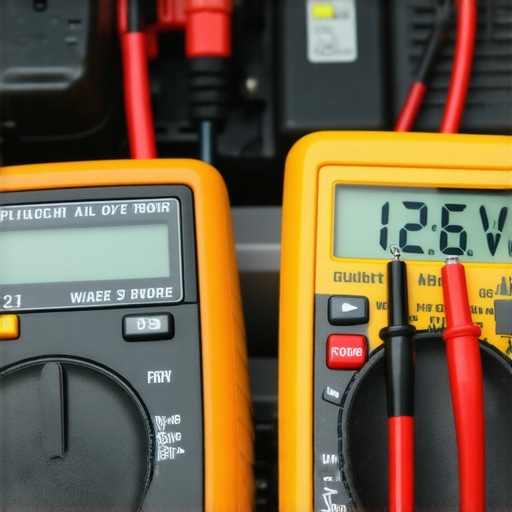
Get Yourself a Digital Multimeter
While I love a cheap test light, a Digital Multimeter (DMM) is the ultimate tool for anyone serious about DIY auto repair. A test light only tells you if voltage is present, but a DMM tells you if you have 12.6 volts (a healthy battery) or a weak 10.5 volts that will cause your radio to reboot every time you hit a pothole. It is the difference between guessing and knowing. If you have mastered using the 15 dollar tool to find a short circuit in your dash, moving up to a multimeter is like going from a magnifying glass to a microscope. It allows you to see the health of your alternator and charging system before they fail.
The Future of Fixing Your Car Radio
Looking ahead, I see a shift where ‘fixing’ a radio won’t involve a screwdriver at all. We are entering the era of the Software-Defined Vehicle. In the next few years, manufacturers will likely solve many of these ‘dead screen’ issues through over-the-air firmware patches. However, the physical hardware—the wires, the grounds, and the fuses—will still be the foundation. Even a software genius cannot fix a blown fuse or a corroded wire. Whether you are dealing with a complex head unit or considering how transmission overhauls save you money in the long run, the physical health of your circuits remains the priority. My challenge to you is this: this weekend, pop your hood and clean your battery terminals with a wire brush. It is the simplest way to prevent why your car won’t start even though the lights turn on and keep your favorite music playing without interruption.
The Hardest Lessons I Learned Chasing Dashboard Ghosts
After years of skinning my knuckles under dashboards, I have realized that electrical troubleshooting is 90% patience and 10% actually turning a wrench. One major lightbulb moment for me was realizing that electricity is lazy—it always takes the path of least resistance. If your radio is acting up, it is often because a connection has become high-resistance due to a tiny bit of hidden corrosion. I also learned the hard way that new parts do not always equal fixed parts; I have seen brand-new fuses that were duds right out of the box, which is why I never troubleshoot without a proper tester. Finally, remember that your car’s vibrations are the ultimate enemy of electronics. What worked yesterday might have literally rattled loose today, so checking the physical tightness of every harness is step number one.
Tools That Saved My Sanity Behind the Steering Wheel
If you want to move beyond guessing and start fixing, you need a few staples in your garage. I swear by a dedicated set of plastic pry tools so I never have to mar my dashboard with a metal screwdriver again. For the actual testing, the 15 dollar tool to find a short circuit in your dash is the best entry-level investment you can make for electrical work. I also keep a can of high-quality electronic contact cleaner and a small tube of dielectric grease on hand to ensure that once I fix a connection, it stays fixed for the long haul. For the heavy lifting, I always refer back to a factory service manual or a reputable digital database to ensure I am not pulling the wrong relay by mistake. #IMAGE_PLACEHOLDER_E#
Turn Your Silent Cabin Into a Mobile Concert Hall Again
Fixing your own radio isn’t just about saving a few bucks at the local shop; it’s about the confidence that comes with knowing your vehicle inside and out. Every time you successfully diagnose a blown fuse or a loose ground, you are becoming a more capable owner. This proactive mindset is exactly how you maximize your car’s lifespan with regular tune-ups and avoid the panic of unexpected failures. Learning how to clean battery terminals so they never corrode again is another simple skill that prevents these gremlins from returning. Don’t let silent speakers or a dark screen intimidate you. With a little bit of time and the right approach, you can handle almost any auto repair task that comes your way. You’ve got this! Have you ever spent hours looking for a complex problem only to find it was a simple five-cent fuse? Let me know your most frustrating electrical story in the comments below!