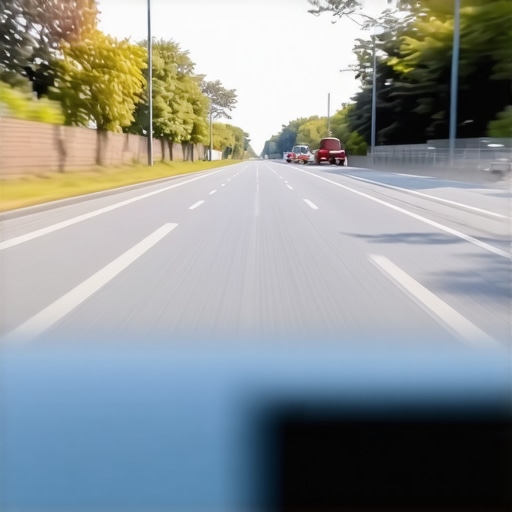
I remember the exact moment I realized my backup camera was wasting my time. It was late evening, the sun was setting, and I was trying to parallel park in a tight spot. Instead of a clear view, all I could see was a grainy, distorted image, making me second-guess every move. That frustrating moment made me realize how much we rely on these little cameras, and yet, how often we overlook the simple reasons they can look fuzzy.
Getting to the Root of Blurry or Grainy Backup Images
Backup cameras have become essential in modern vehicles, providing safety and confidence during parking and reversing. But when that crucial visual aid starts to look blurry or grainy, it can feel like you’re navigating blindfolded. I’ve been there, and I know how distracting it can be. The good news is, most of these issues are fixable, and understanding the common causes can save you a lot of trouble.
Will a Dirt, Fog, or Reflection? Don’t Fall for Simple Excuses
One of my earliest mistakes was assuming the camera was just old or cheap. Sometimes, it’s the simplest things—like dirt, water droplets, or even reflections—that blur the image. Always start with a quick clean of the camera lens. Use a soft microfiber cloth and a gentle cleaning solution. If your camera is under a tailgate or bumper, make sure there’s no mud or snow blocking the view.
Interestingly, a study highlighted that a dirty lens is among the most common reasons for poor image quality in backup cameras. Regular cleaning can make a huge difference.
But if your lens looks spotless and you’re still seeing grainy images, it might be time to look deeper.
Have you faced this blurry backup view problem yourself? If so, you’re not alone, and I promise there’s a straightforward fix ahead. From adjusting camera angles to examining electrical connections, we’ll cover everything you need to restore clarity.
Now, let’s dive into the specific reasons behind blurry backup cameras and how to fix them without breaking the bank or wasting your weekend.
Start with a Thorough Cleaning of the Lens
Before diving into complex fixes, give your camera lens a good wipe with a soft microfiber cloth and a little rubbing alcohol or cleaning solution. I once tackled this step on a Saturday morning—after a quick wipe, the grainy image cleared up dramatically, saving me from unnecessary replacements. Dirt, water spots, or smudges are often the culprits behind blurry images, so don’t skip this simple step.
Check and Adjust Camera Angle for Better Sight
Next, examine if the camera is aligned properly. Think of it like tuning a guitar string—incorrect angle or position can distort the view. Locate the camera housing—usually near the rear license plate or bumper. Use a screwdriver to gently loosen and re-position the camera for a clearer view. I remounted mine slightly higher after noticing the bottom of the frame was constantly obscured by the bumper. This small tweak instantly improved clarity.
Inspect for Water Damage and Replace if Necessary
If cleaning and adjusting don’t help, look for signs of moisture or corrosion inside the camera housing. Disconnect the power and video cable—think of it like disconnecting a garden hose before fixing a nozzle. If you spot water, corrosion, or fogging inside, it’s time to replace the entire camera. This is similar to replacing a faulty component in a transmission—sometimes, a part is just beyond repair. For a DIY fix, you can order a compatible replacement online; just ensure compatibility with your vehicle model.
Examine Electrical Connections and Wires
Loose or corroded wiring is a common cause of fuzzy images. Trace the video and power cables from the camera to the vehicle’s control module. Look for signs of wear, fraying, or loose connectors—like inspecting a tire for uneven wear before a long trip. Secure any loose connectors and clean corroded contacts with electrical contact cleaner. I used a small brush and cleaner spray; after reconnecting, the image quality improved significantly.
Upgrade or Reinstall the Camera System
If your camera is outdated or damaged beyond simple repair, consider upgrading to a higher-resolution model. Think of it as a car service: upgrading your transmission improves overall performance. Many aftermarket cameras now offer HD visibility, making reversing safer and more comfortable. A quick review of your vehicle’s wiring diagrams or consulting an expert at Collision Fixer can help you choose the right fit.
Ensure Good Lighting Conditions
Lastly, remember that poor lighting can make even the clearest camera look fuzzy. During night, small LED lights on the camera help—a feature worth considering if your current setup struggles in darkness. If your system lacks illumination, installing auxiliary LED lights near the camera might make a world of difference, similar to adding extra headlights for better visibility.